There are three items on our must-do list this summer that have to be contracted out, and one major project we want to complete on our own before Penelope arrives in the fall. The items we can’t complete on our own are:
- Remove a dying tree (that actually belongs to our neighbors) that is hanging over our house.
- Replace our picket fence with a privacy fence that fences all the way past our side door so we can let our dogs out from the kitchen instead of through the white-carpeted orchid room.
- REPLACE EVERY WINDOW IN THE HOUSE. Except for the ONE window that does open and the two in the back that we will eventually remove when we put in a door. Seriously – 18 windows and not ONE opens. Talk about a safety hazard…not to mention it just stinks not to be able to open your windows on a lovely spring morning / evening!
We already contacted several companies for estimates and zeroed in on the ones we plan to work with. The tree removal is happening next week, the fence will be mid-June, and the windows won’t be replaced until mid-July. I wish we could get it all done sooner, but waiting on Penelope is teaching me patience…

That leaves us with the one major project we wanted to finish this summer on our own: refinishing the upstairs floors and settling those bedrooms so that we don’t have to worry about them down the line. The carpet upstairs is *a-w-f-u-l.* The previous owners had cats, and there is hair and dander everywhere. Javi and I woke up wheezing the whole first week we lived here. There are also yellow stains everywhere, and I’m thinking it’s cat pee, although regardless of what it is it’s disgusting. The carpet is also really rough – not the soft-on-your-feet kind. So it MUST go.


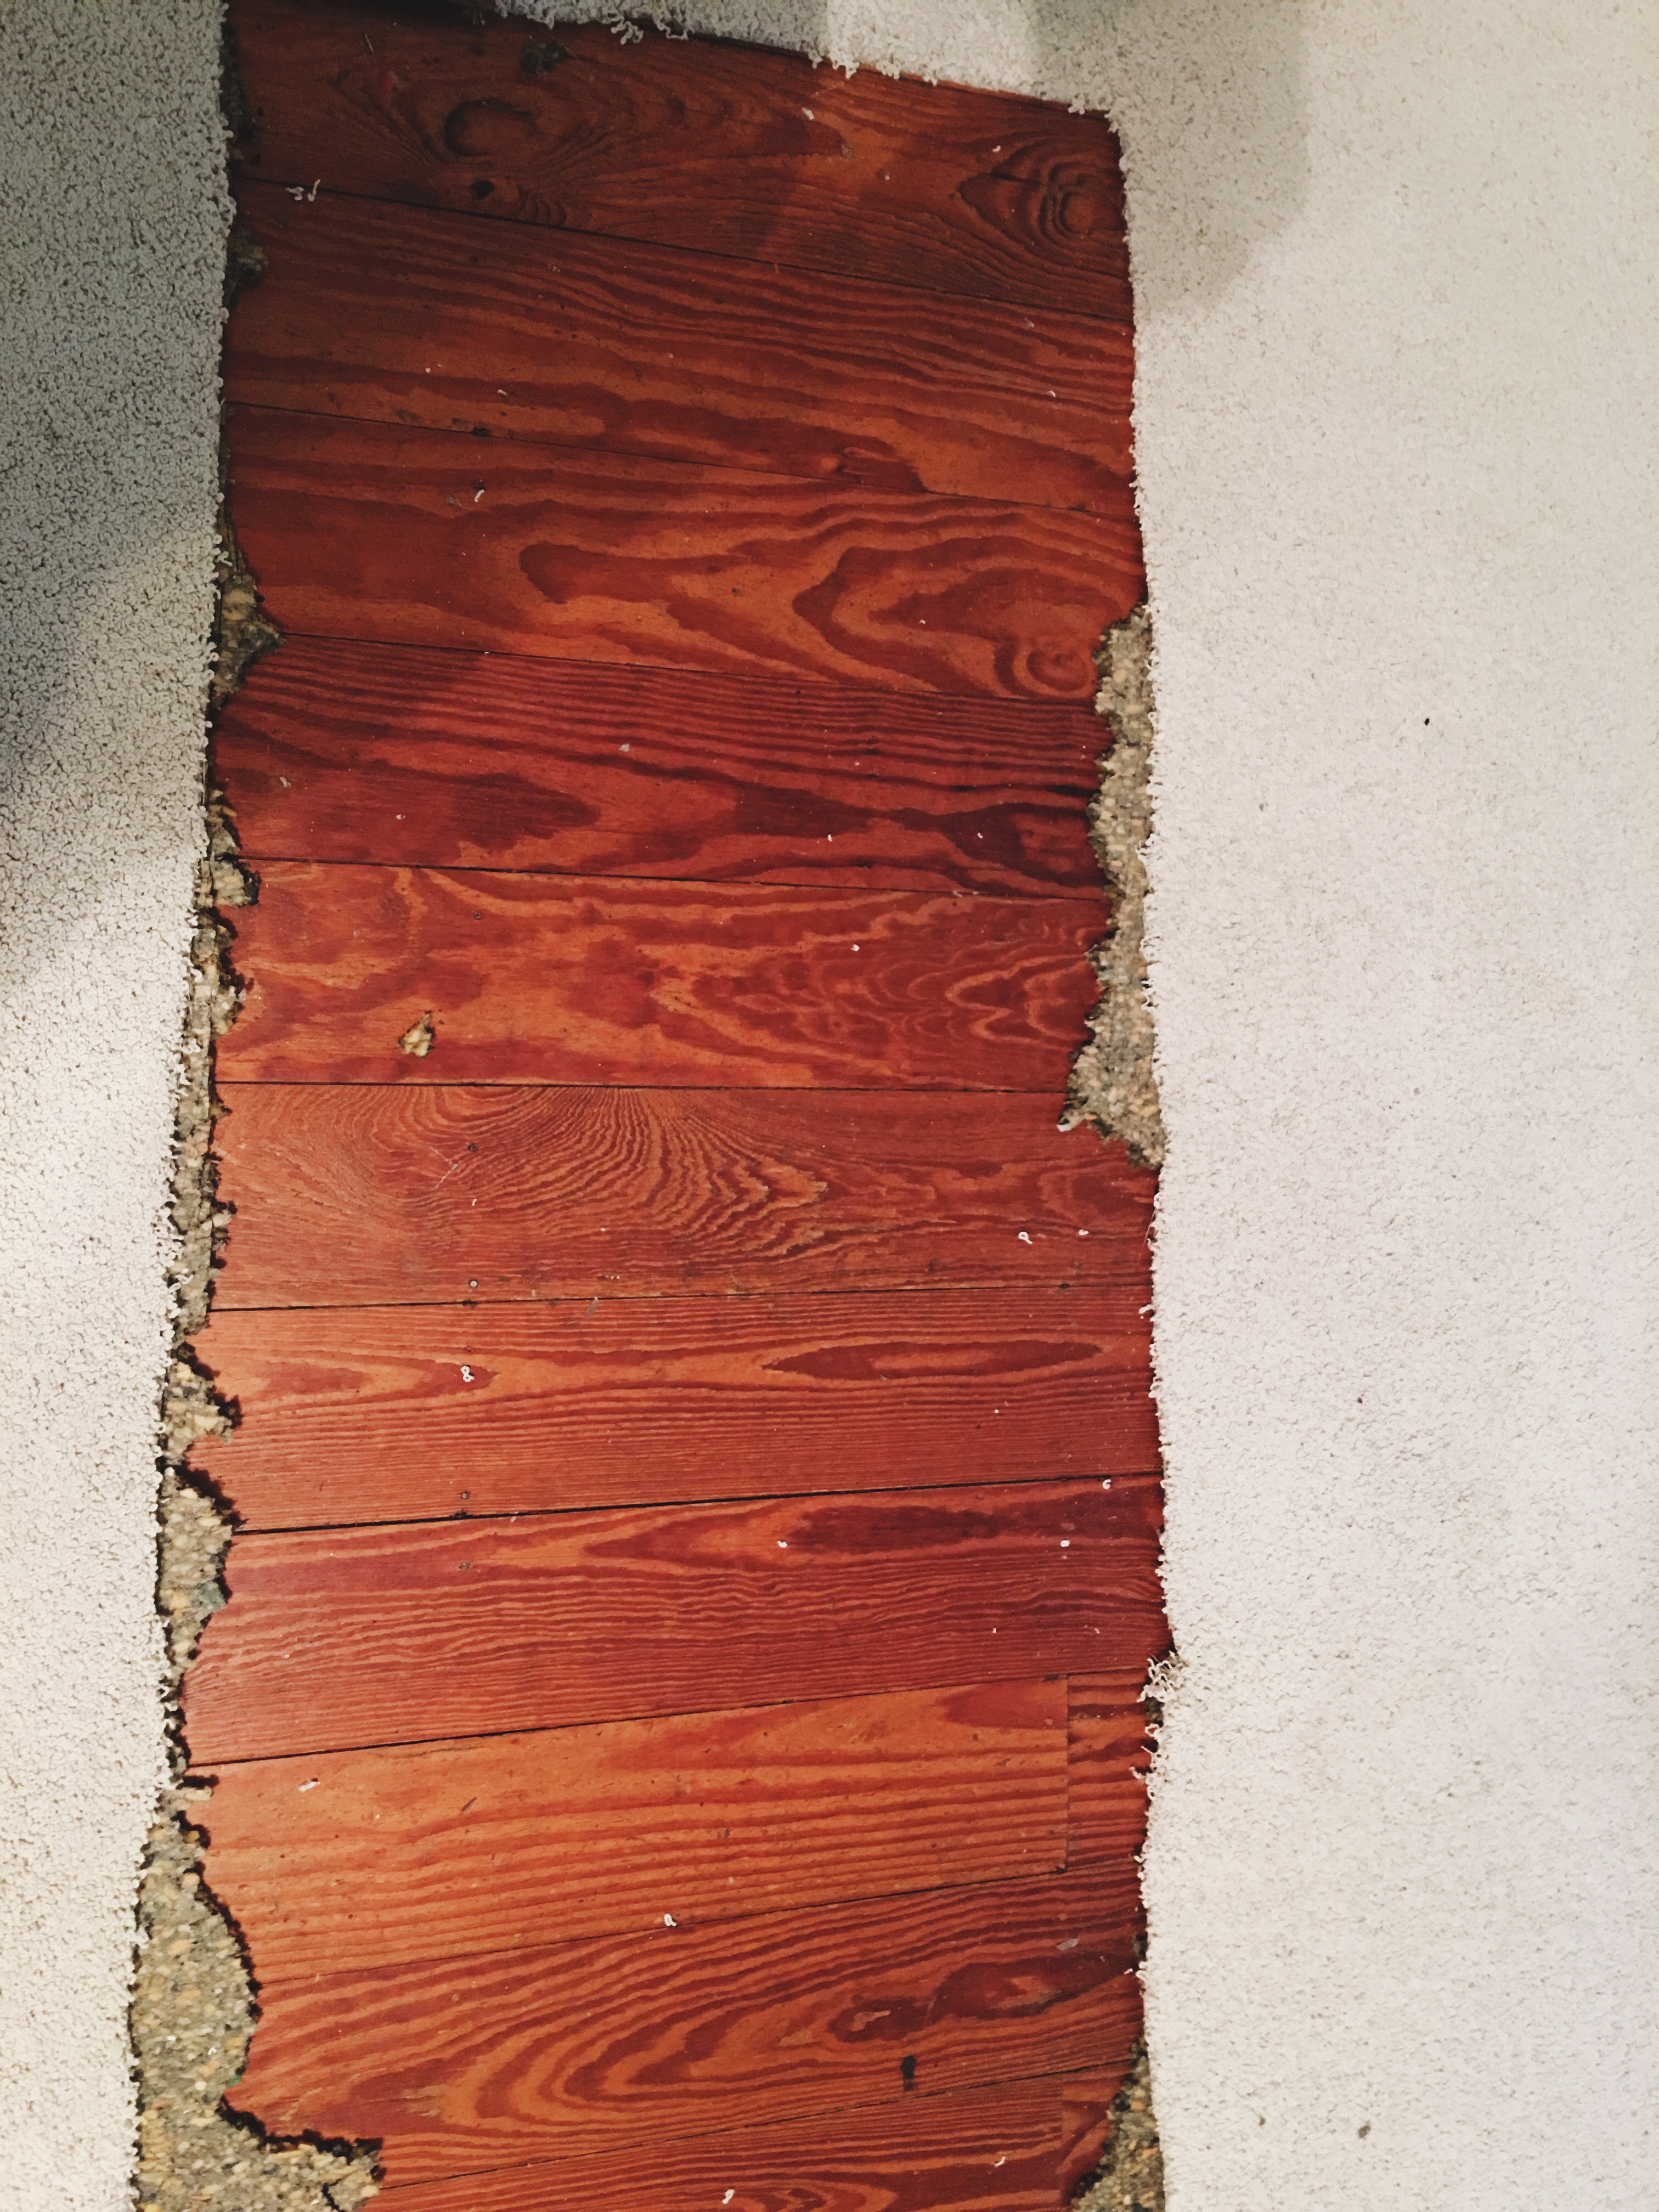
We moved our bedroom furniture into the guest room for the first week so that we could leave our future bedroom empty and start there. We originally thought that the second floor only had sub flooring beneath the carpet, and Javier was ready to learn how to install a new floor. When we lifted up the corners around the vents, however, we saw hardwood. Javier tore a big strip of carpet out last Thursday to see what was underneath, and we were surprised to see beautiful wide plank wood with a reddish stain. After what we dealt with underneath the carpets in our old house, this was a welcome and wonderful surprise. We crossed our fingers that the rest of the room was similar to this little strip…
We wanted to hold off tearing up the carpet until after we painted so we could avoid dealing with drop cloths and worrying about the wood. On Friday we bought new paint (Valspar Fresh Cotton) to cover the dark forest-y green and brighten the room up a bit, and on Saturday morning we got to work! We wound up having to paint three coats to get rid of any green peeking through, and the final color is a glorious, happy off-white. I love it.


As soon as we had a break we started tearing up the carpet (by the way, yes we were wearing masks and, although we can’t open the windows, we did have two fans going!). Javier tore it up while I rolled each piece and carried it down to our car. It was all up in about an hour, including the padding beneath. As we hoped, the rest of the floors were just like that little strip: absolutely gorgeous. WHY would anyone ever cover these beautiful planks!?!

I had to run to do a photo session around the time we finished tearing up the carpet, so while I was gone Javier pulled all of the staples out. When I came back from the session, the only thing left was to clean the heck out of those floors and install quarter round. Javier mopped while I scraped off old splashes of paint from former sloppy paint jobs.

On Sunday morning Javier and I went to Lowes to buy the quarter round, and Javier had it all cut and installed by Sunday afternoon. Then all that was left was moving our furniture in!! Seriously, the fact that this all happened in two days is mind boggling. I anticipated sleeping in the guest room for at LEAST a month. I envisioned so much more work, especially for Javier because if we had had to refinish or lay new floors there’s not much this pregnant lady could’ve done to help. As it was, we were able to share the work and get it all finished so quickly…and I absolutely love the floors. Oh, not to mention the money we saved by not having to buy floors, stain, poly, etc. We spent about $60 on the quarter round…and gained a lot in sweat equity (I think).


So now the first bedroom is complete and we can move on to the guest room and Penelope’s nursery! This is not a re-decorating post, mind. Thanks to Javier’s hard work building our bed with 6 drawers on each side, we do not need a dresser taking up space in the room. HOWEVER, I have plans to eventually put some shelves in for plants and our mineral collection and maybe some other items purely for decor. I also plan on having a Penelope corner…a chair for nursing, a spot for her to sleep in for the first few months, etc. But all of that will happen eventually – for now I’m thrilled with just having the room set up!


5 responses to “Step One: Refinishing Bedrooms”
Please check your email!
🙂 Lisa
[…] the soul. Our second floor is now officially carpet-free and completely re-painted! Remember the transformation in our bedroom? We went through the exact same process in the guest room, then moved all the guest furniture in […]
[…] in May when I first started posting about our projects for the new home, I mentioned three tasks that we either couldn’t or […]
[…] Penelope. I’ll think back fondly on my last shows with Humming House, buying our new home and fixing it up, a lovely vacation to Seal Beach with family, beautiful baby showers in Louisville and Nashville, […]
[…] we moved into our house last year we tore out carpet, painted, redid the stairs, replaced 18 windows, and added a fence and started a garden. Everything […]