Over the last week I’ve been working on refinishing an old wood dresser that has been in my family for a little over 30 years. My mom first got it from a friend when my dad was studying at Princeton, and my brother grew up with this dresser in his room. When I went to college, I took this dresser with me. It’s moved with me and Javier four times…and it’s going to go in Penelope’s room once I’m finished working it over. I’ll get to the whole dresser makeover in another post – it’s been a journey working on it. But I thought I’d do a quick little post on here about cleaning the brass hardware, because this hardware has an amazing retro vibe that I’ve always loved.

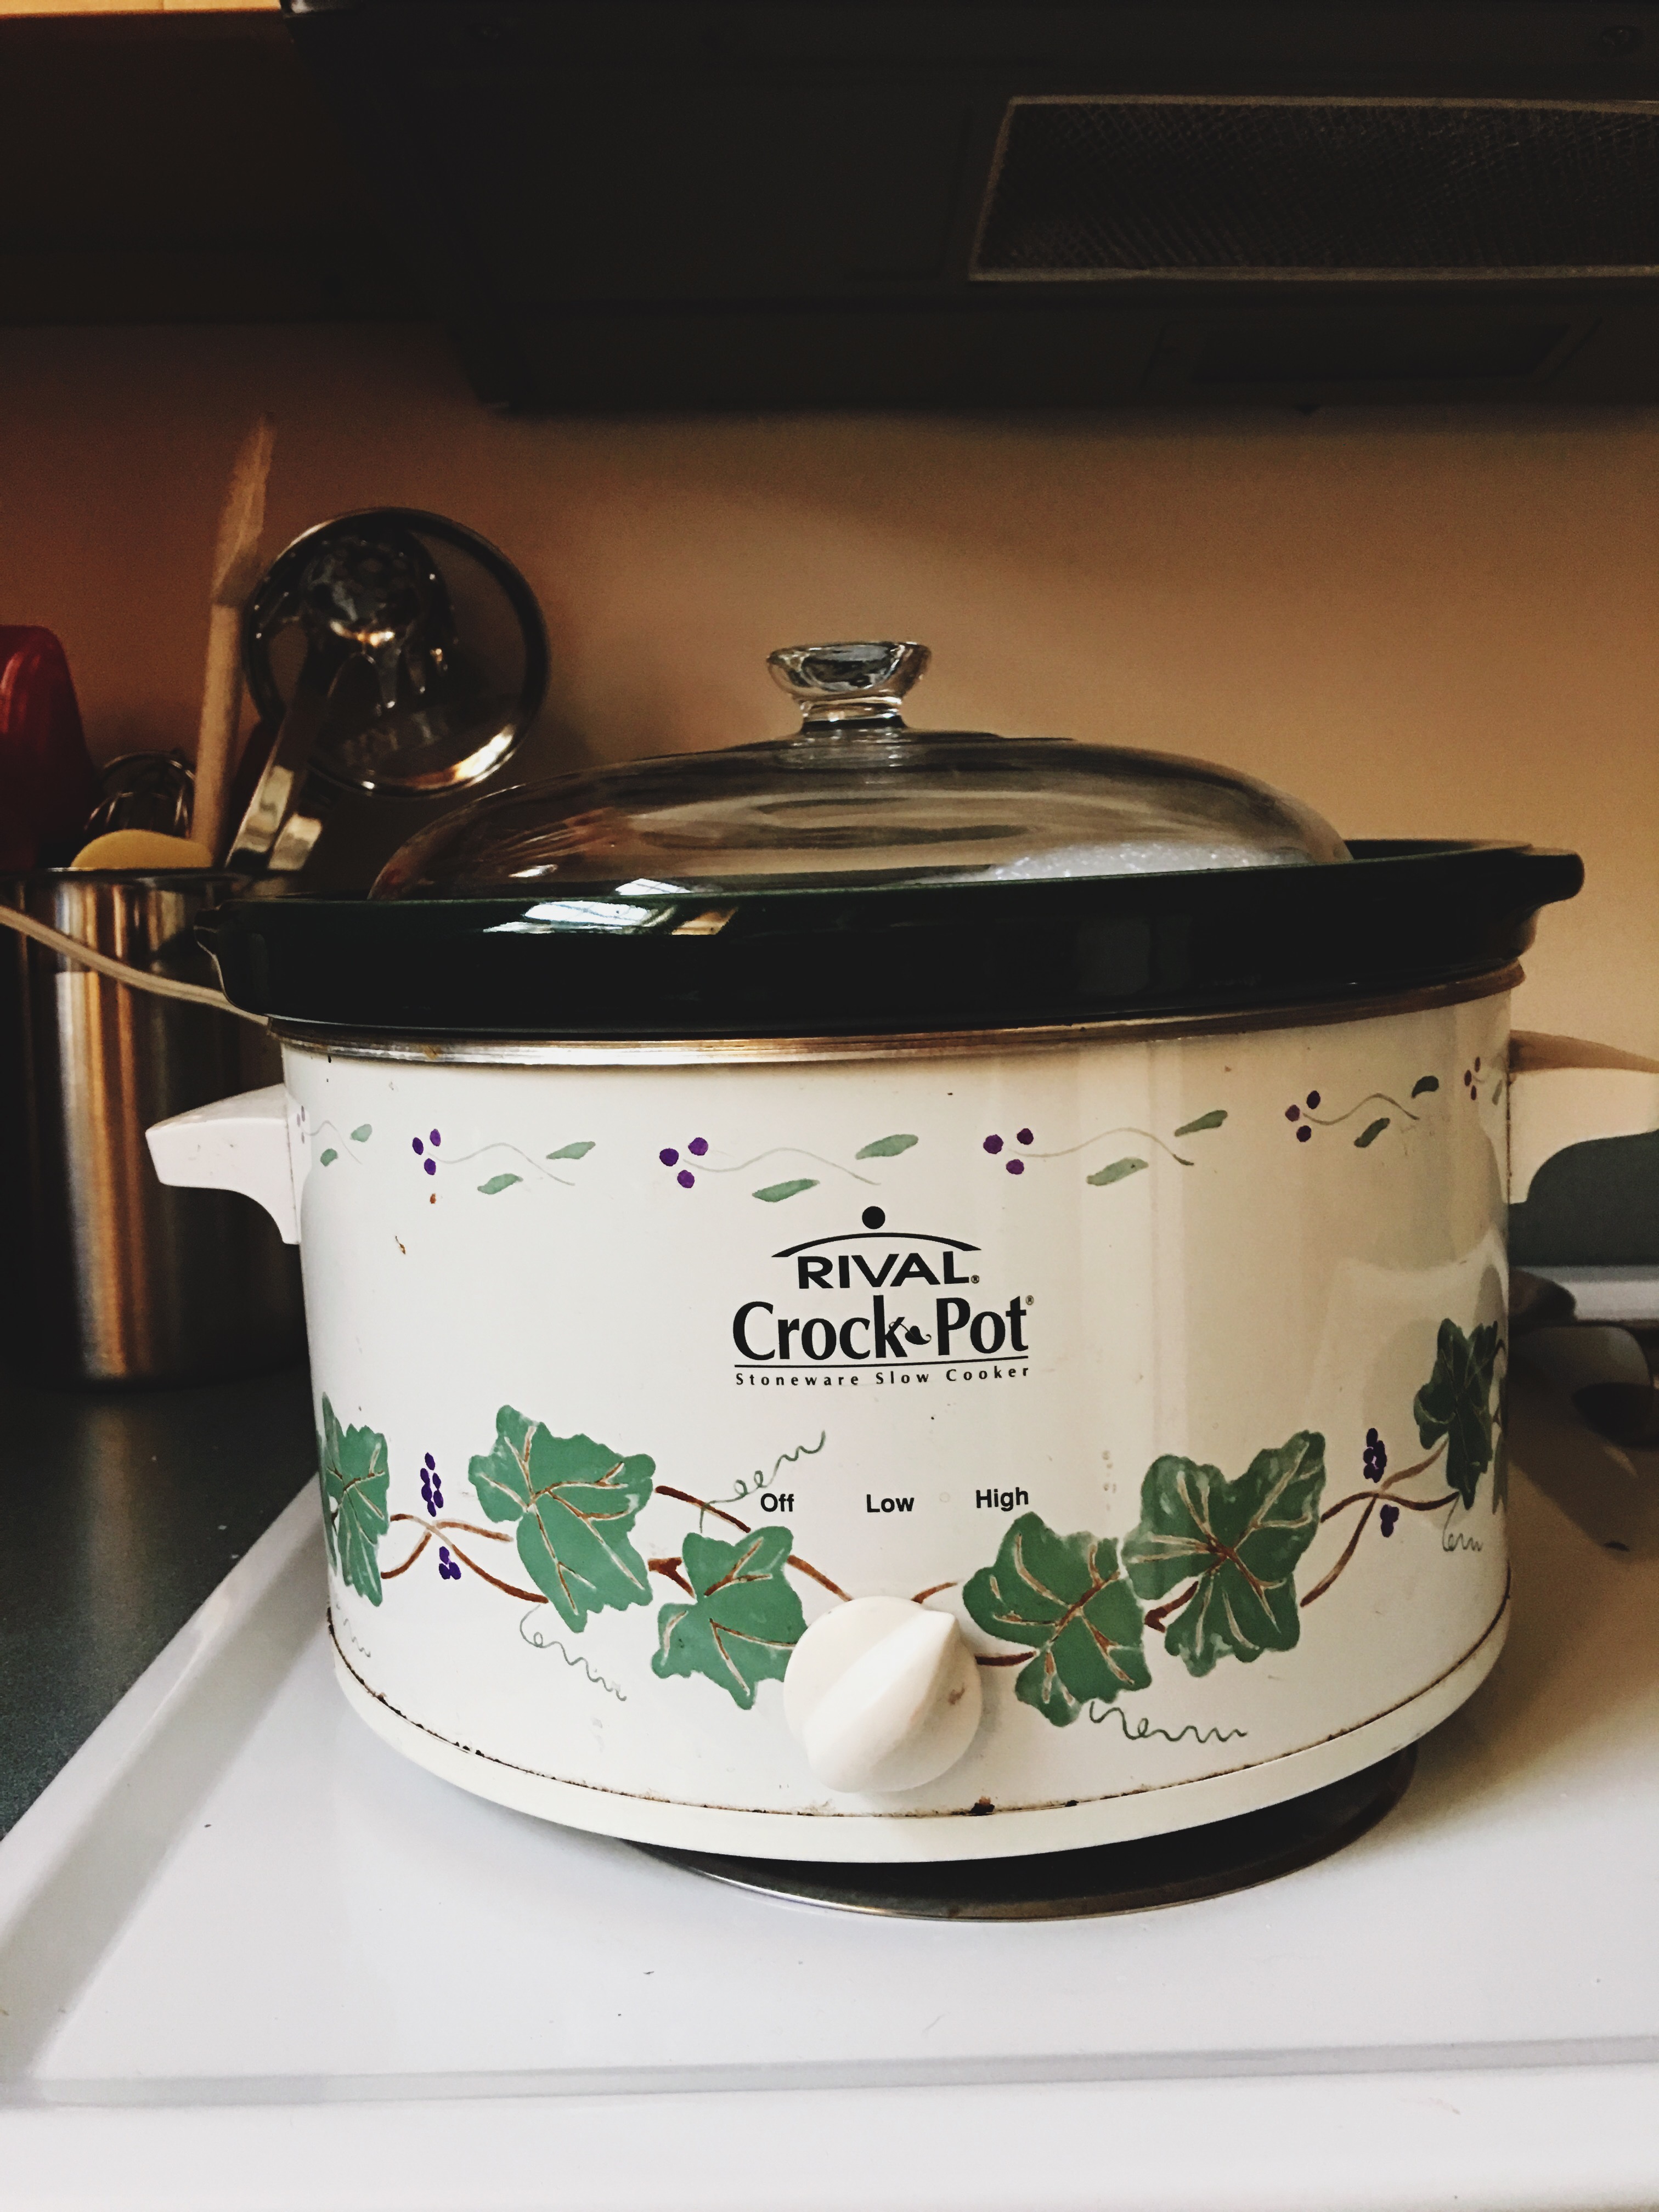
I’ve used brasso before on some of the items I sell in my shop, but I knew this would require a substantial amount of work to remove most of the tarnish. Javier mentioned a trick he learned on Rehab Addict and This Old House that involves simply leaving the brass in a slow cooker to get all of the paint and gunk off. I made a quick run out to goodwill to purchase an old crockpot for $9, filled it with water and a little bit of dish soap, and left all of the handles cooking for about 3 hours.
When I pulled the handles out, the old gold paint (that I actually didn’t realize was paint until I started scrubbing it) was loose and flaking off. It just took a bit of persuasion with Barkeepers Friend and a washcloth to get the rest of it to come off, leaving the surface to shine!


The finished surface is a silvery-gold – not the yellow brassy look I thought I’d see. The back of the handles say “Keeler Brass Co. Grand Rapids,” so I’m pretty sure it is actually brass…but maybe the gold color comes with wear and use. Anyway, I love the finished look and I can’t wait to put them back on the drawers! Bonus: I never knew what Barkeepers Friend was before this project, but now I LOVE it. I used it to get a couple of scuffs off of a white table we bought from Goodwill and it worked like a charm!


One response to “Polishing Brass Hardware”
[…] of stain blocker and 4 coats of paint on each one and they turned out great. Then it was time to add the hardware and put it all together! THIS WAS SO […]