I’ve had wallpaper on my mind for over a year now thanks to blogs like A Beautiful Mess and Young House Love. I know I want to use some peel-and-stick wallpaper in our dining room, but I needed a trial run in a smaller space before committing a whole room to wallpaper.
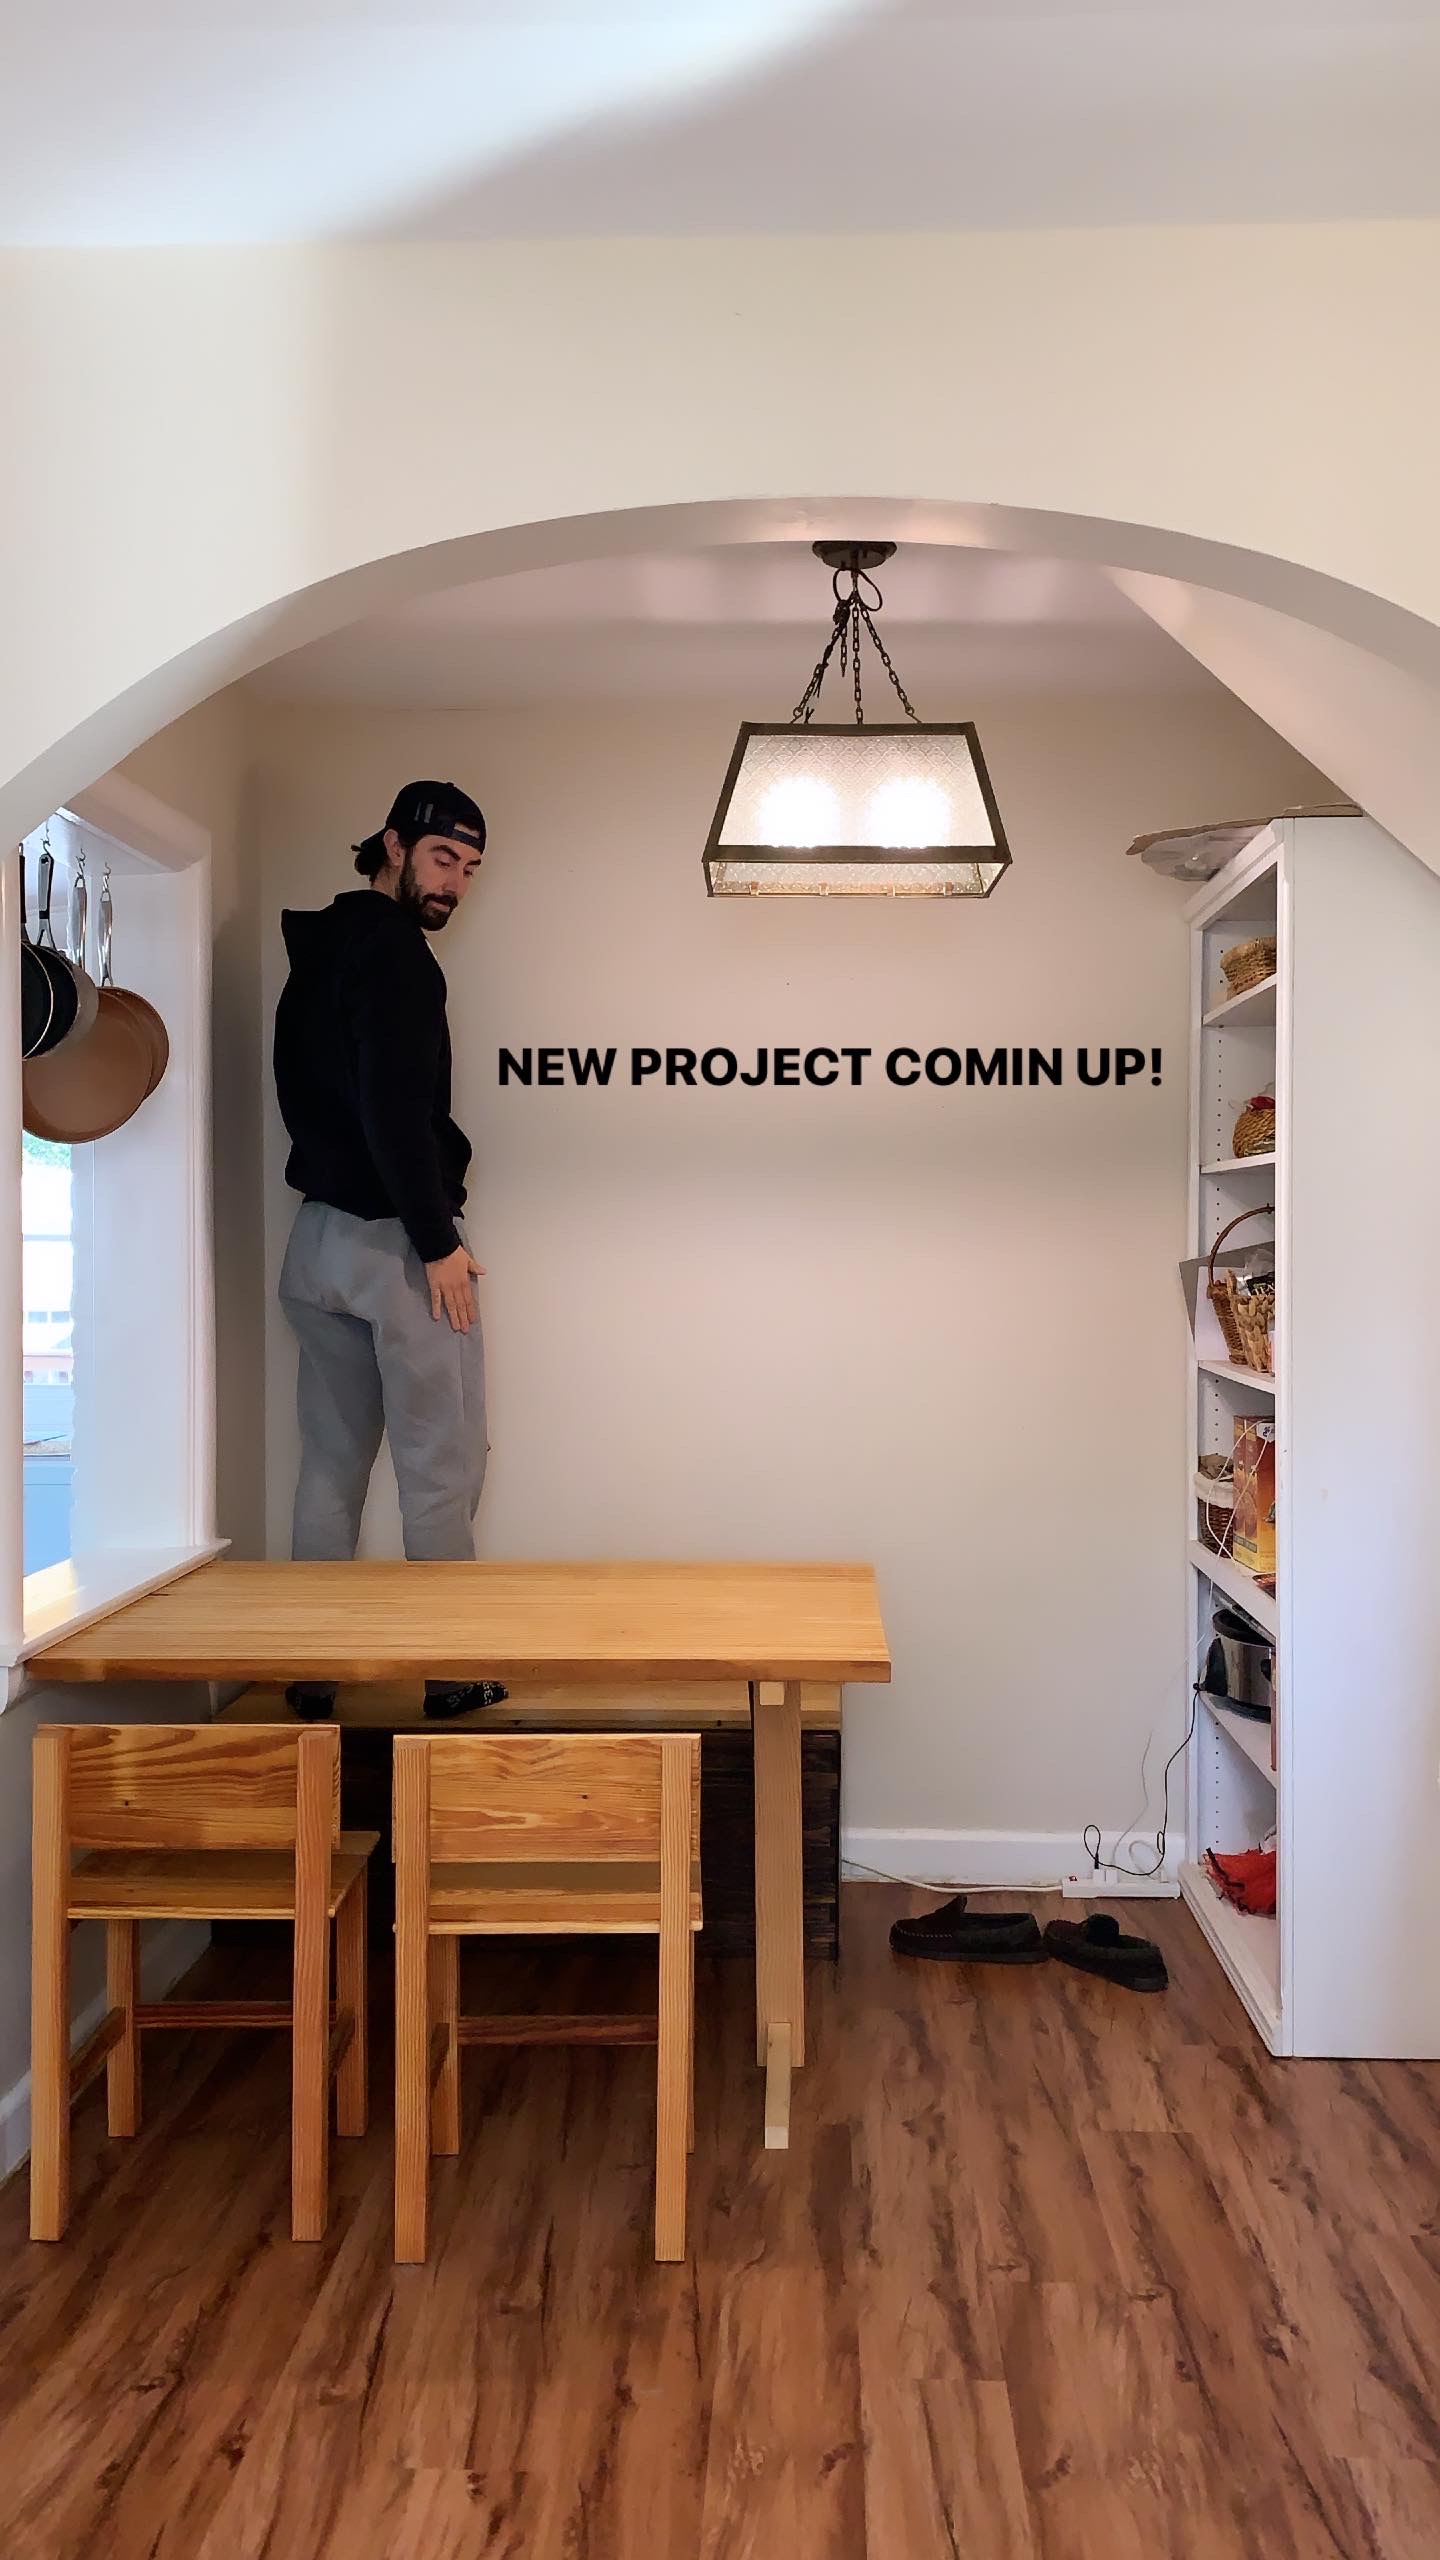
Last year Young House Love posted about a peel-and-stick mural from Society6 that they put on one small wall in their rental duplex. I LOVE the look of the mural they chose, and thought it might be something perfect for our new little kitchen nook. Society6 sells these murals in 8×8 and 12×12 format, and our back wall behind the nook table is *almost* exactly 8×8 (just a tiny bit bigger but not so much that you can really tell). So Javi and I set to work scouring through dozens of mural options to pick out the perfect one for our wall. In the end we settled on this design: “Magnolia and Orchid Blossoms” – beautiful!

The wall we wanted to cover – pre-mural
Now, before you go telling me what a mistake it is to put wallpaper on a wall based on wallpaper application from previous decades, let me say that these panels are SO MUCH EASIER to apply *AND REMOVE*. They don’t leave any residue behind – and we can attest to this because we had to remove an entire panel twice during our installation. If and when we want to remove this mural, we know it will not the labor-intensive process from yesteryear.
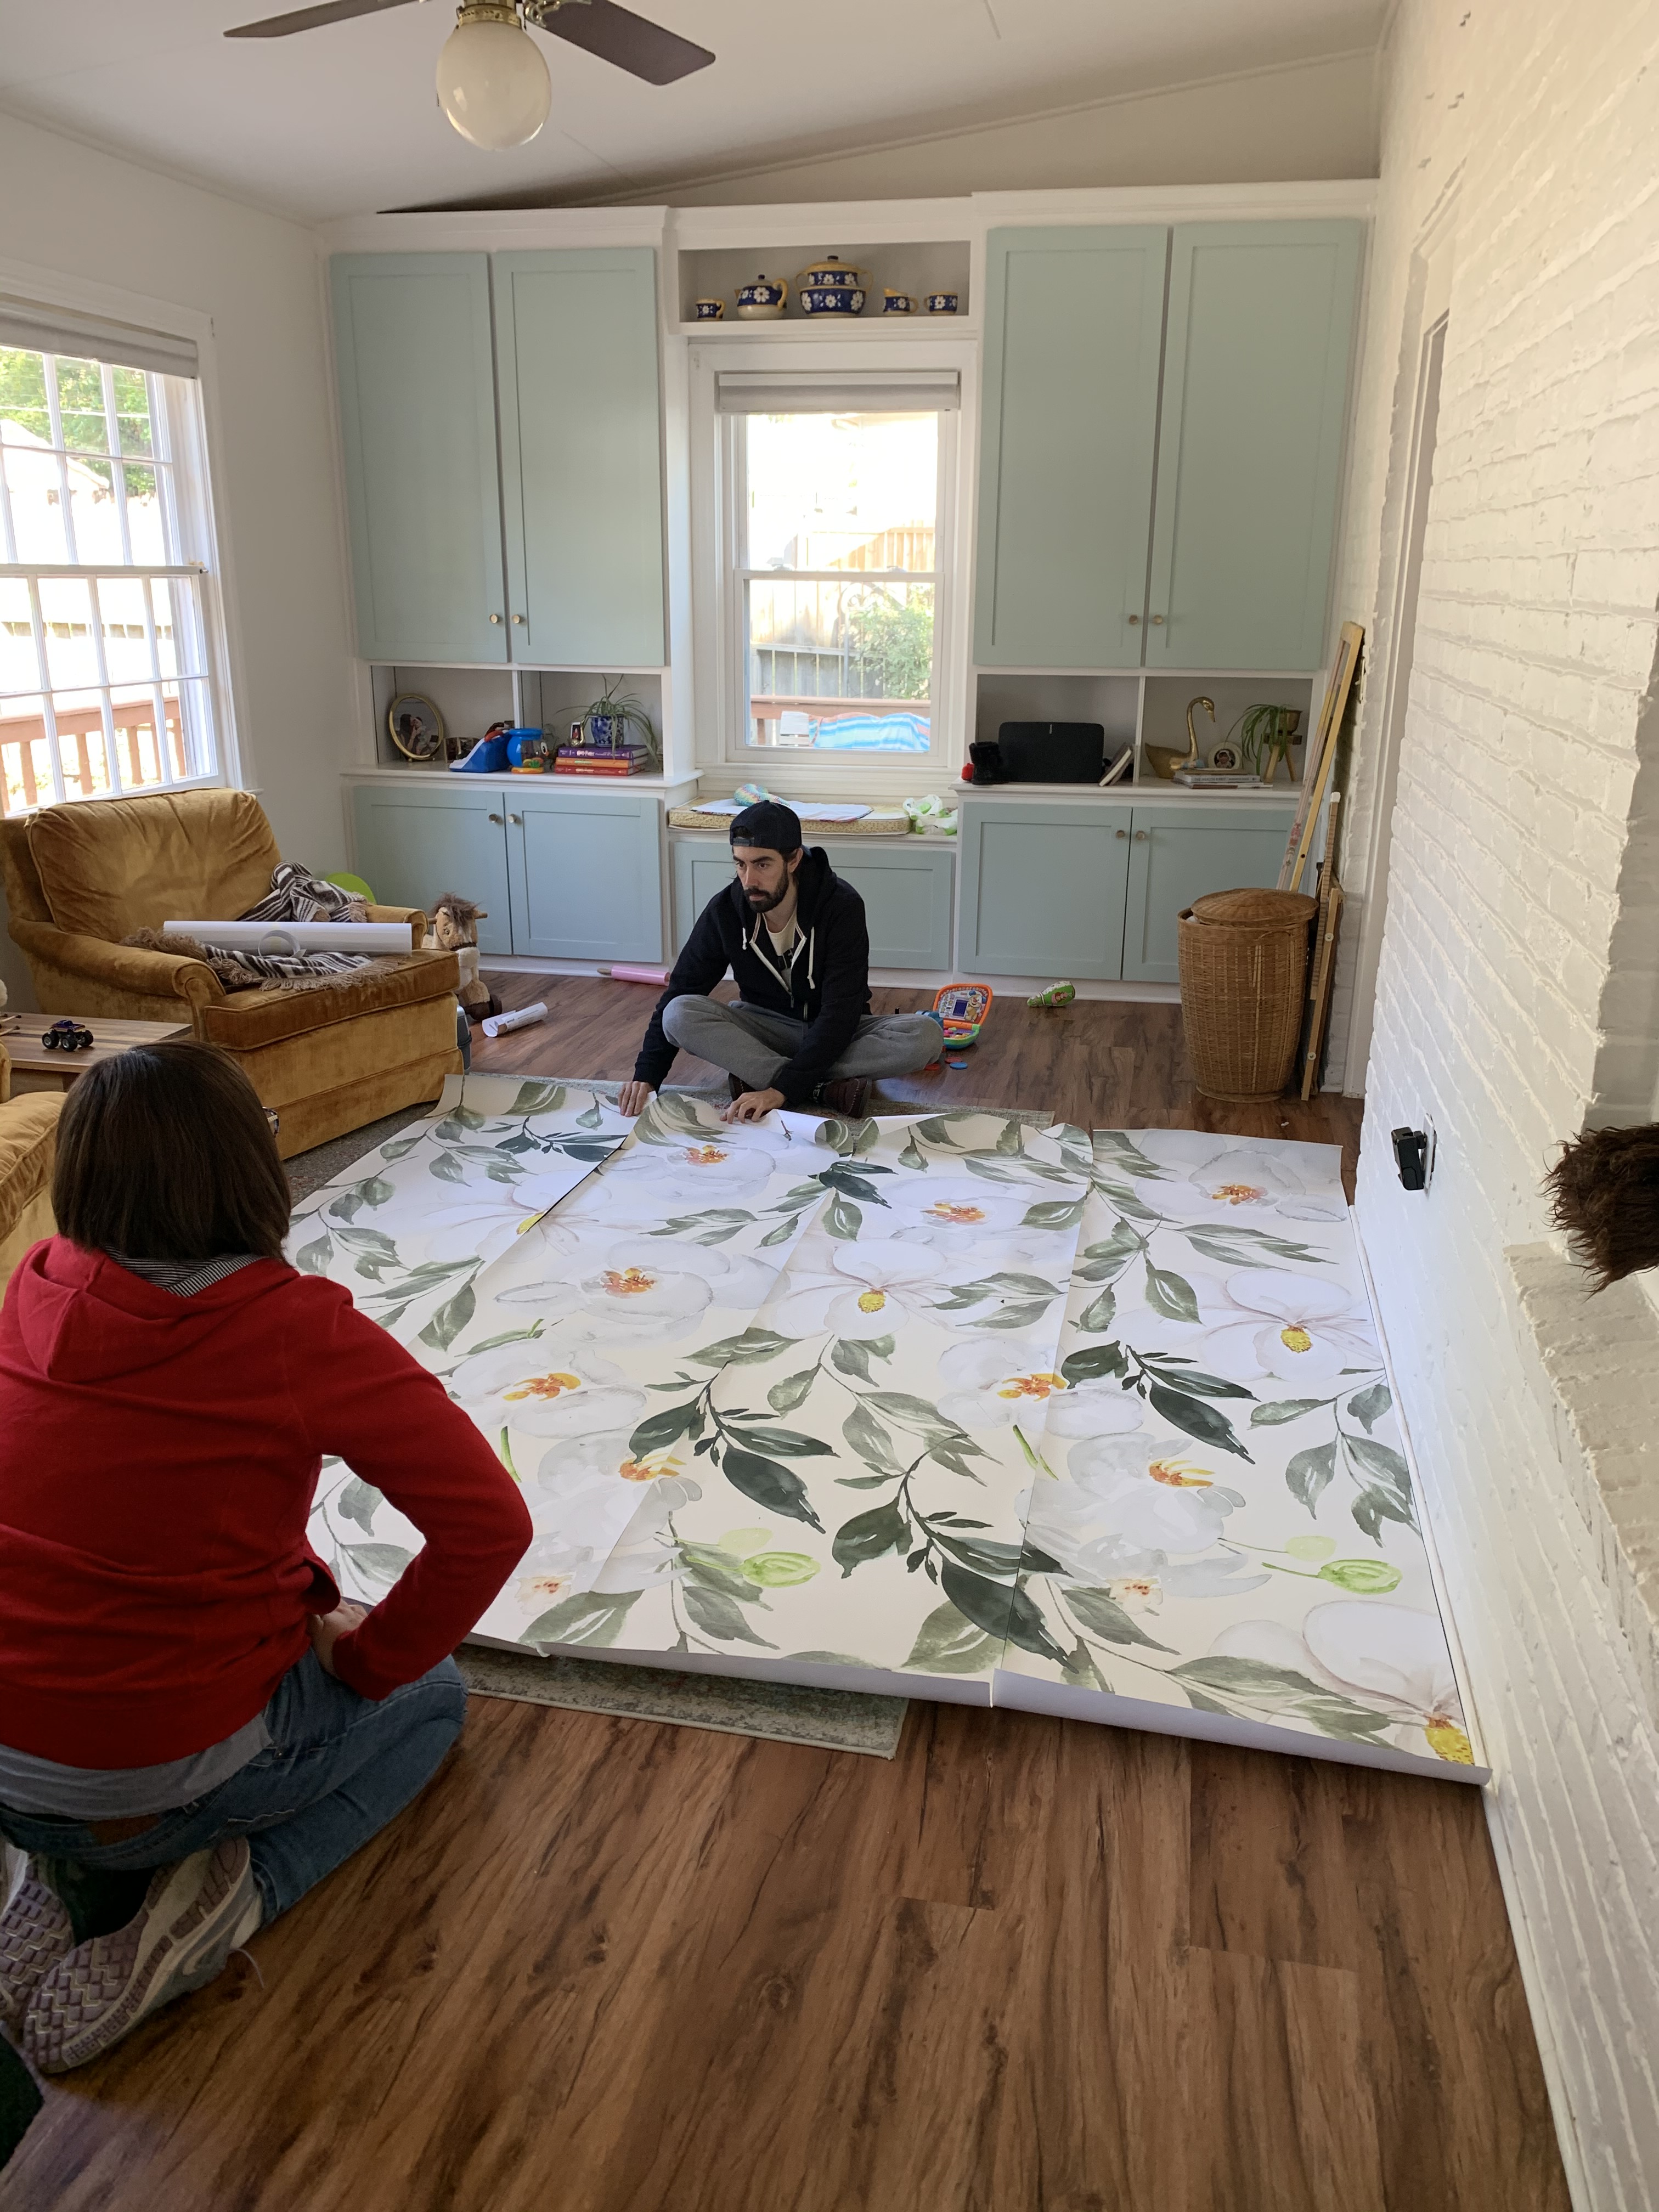
Javi and Maca laying the panels out to determine the correct order before we put them on the wall
YoungHouseLove already has a lovely “how to” post on the installation of the mural, and Society6 also provides a helpful video on installation, so I’m not going to go into detail on how we did it. We basically did exactly what we saw in the tutorial video and it came out great. The main issue with our wall is that our house is old and the walls are uneven, so we did have to use the level to continue checking on the alignment of our panels. The mural doesn’t line up EXACTLY in the corners of our walls, but I don’t think anyone will notice. Our biggest tip: DO NOT RUSH. We rushed through the third panel (there are 4) and wound up having to remove it twice to get it right. So…save yourself some time and take it slow when you’re putting these panels up.
All told, the whole process was finished during ONE NAP TIME for Penny (about two hours)! And that was with the corrections we had to make. It was surprisingly easy and the difference is ENORMOUS. It’s exactly what I was hoping for!


Before and After!
So, now that we’ve done one mural, I’m thinking we *may* put another one in Goldie’s nursery, and I definitely feel much more confident about putting some wallpaper up in our dining room! I doubt that will happen before Goldie makes her debut, but sometime in the next ten years or so…


5 responses to “Wall Paper Mural – Before and After”
Beautiful! I love Society6 stuff!
We recently discovered it and agree, great stuff!
Lovely, Les and Have😊
Sent from my iPhone
>
Hahahah thank you Joan!!
[…] completed was a coffee bar in the back corner of the kitchen. We’ve been working on this little nook for a very long time, and the bookshelf was a cluttered, clunky mess in an otherwise-beautiful space. We decided it […]