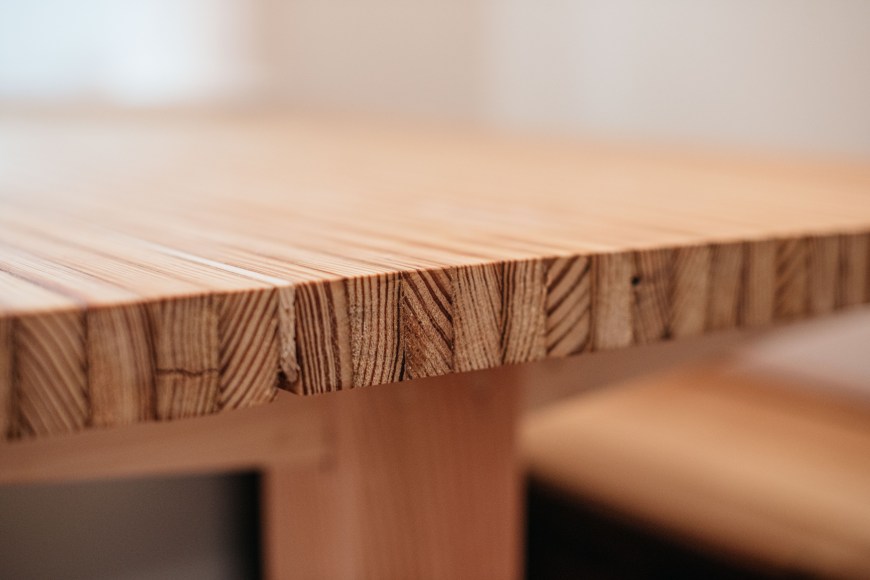
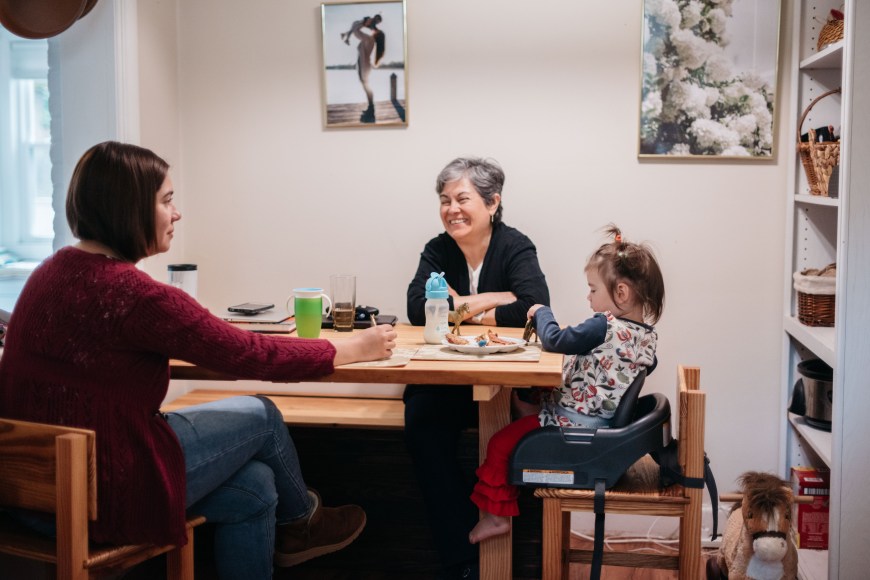
I have so many childhood memories of my home in Punta Arenas, Chile. One prominent memory is spending a ridiculous amount of time lying down on the kitchen’s peninsula in our home – for some reason I didn’t like to use chairs or sofas. It was huge table (at least young me thought so) made of cement and a tile top. For our nook I wanted a sturdy table that kids can use for arts and crafts, homework, meals; basically a table that will be USED and used well. I decided to make a butcher-block style top. My idea was an unrefined look since this will be an everyday table, so I didn’t repair some of the imperfections (gaps, nail holes, and slight unevenness between boards) in an attempt to give the piece some character.
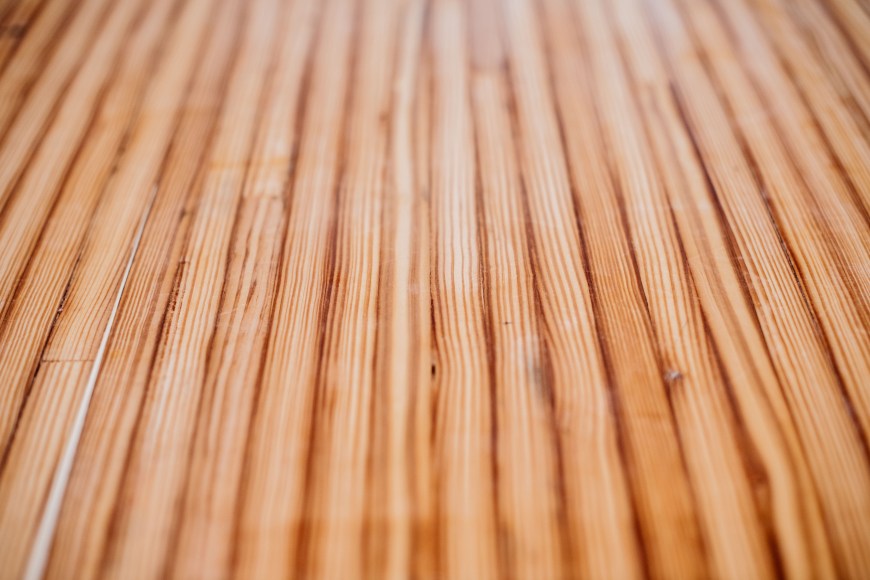
The process started with flattening the boards with a bench top planer, which took a long time – side note: I used a bench top WEN jointer and I was unhappy with its performance – I do not recommend that particular tool. The plan was to cut 1-½ in. pieces on the table saw and glue the faces to create the butcher-block style. The dimensions of the table are 52 in. long by 36 in wide. With that width I had to make 3 separate pieces to be able to fit them in my thickness planer (link) and to use the clamps I already have. With all the boards flat and square, I used the thickness planner to create a uniform thickness in all board before ripping them to the final size. I ended up cutting so many pieces!! Each section took about 16 pieces each, but not all the pieces were 52 in. long so I needed more than 48 pieces (maybe double that). With all the pieces ready it was time to glue them together. I use Titebond III wood glue with excellent results. After each piece was clamped for 24hrs, I passed them thought the thickness planner again so all were the same thickness before attaching them. This part was challenging because I don’t have long enough clamps, so my solution was to use pieces of MDF and a couple of runners screwed from the bottom of the table providing additional strength and stability to the top.
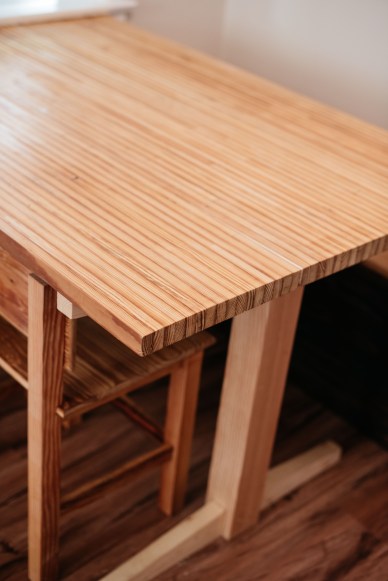
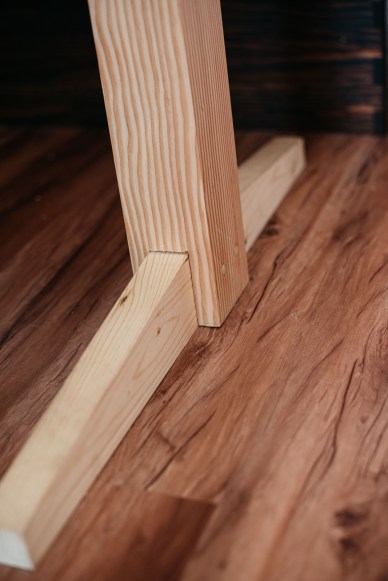
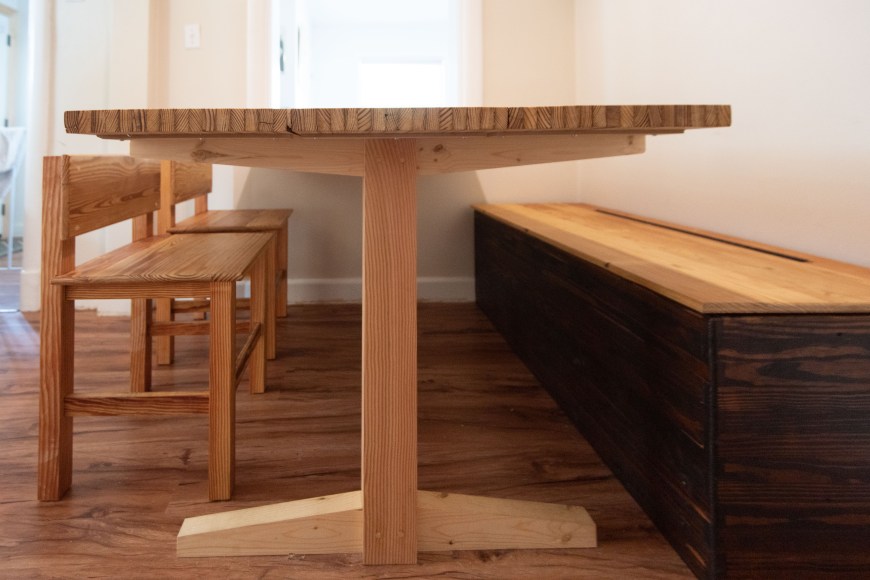
The table has only one leg – the other side of the table is bolted to the wall. The one leg was made of Douglas fir 4 x 4 and two pieces of 2 x 4 pine. The 4 x 4 is a pedestal that houses a top and bottom piece of 2 x 4 running the width of the table. The 2 x 4 pieces are tapered for nicer esthetics. To beef up each joint in the pedestal I used a couple of wood dowels that cross all pieces and glued them in place – they are not going anywhere! Once again after sanding with the belt sander using 120 grit and the orbital sander using 180, 240, and 320 grit, I finished the top with Odie’s Oil because it is food safe. The final product is amazing. The table is perfect for what we need and is already getting a ton of use. If one day it needs to be moved, I’ll have to build a second pedestal, but for now, we have no plans to move it anywhere.
To finish the project, I have one more post about building two stools that fit under the table to minimize visual clutter when nobody is using it!


2 responses to “DIY Kitchen Nook with reclaimed lumber – Part #2 / The Table”
That’s just SO impressive, Javi. I don’t “get” hardly any of it but that doesn’t keep me from being impressed! Good for you!
Sent from my iPhone
>
Hahaah thank you Joan!!