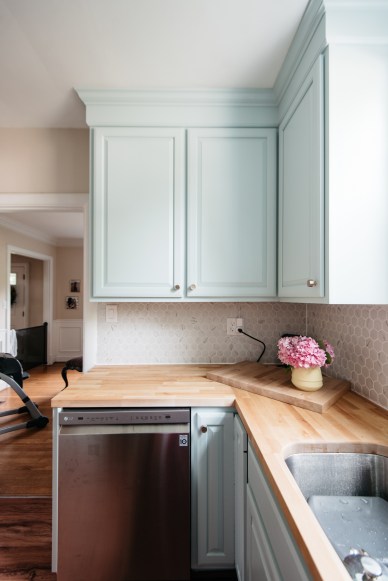
We decided on butcher block countertops for the new kitchen; they are affordable, fit our style, and are perfect for our level of DIY skills. Going forward we will have to take good care of them; the countertops are properly sealed, but we have to be cautious when it comes to letting spills sit for too long or putting hot things on top of them.
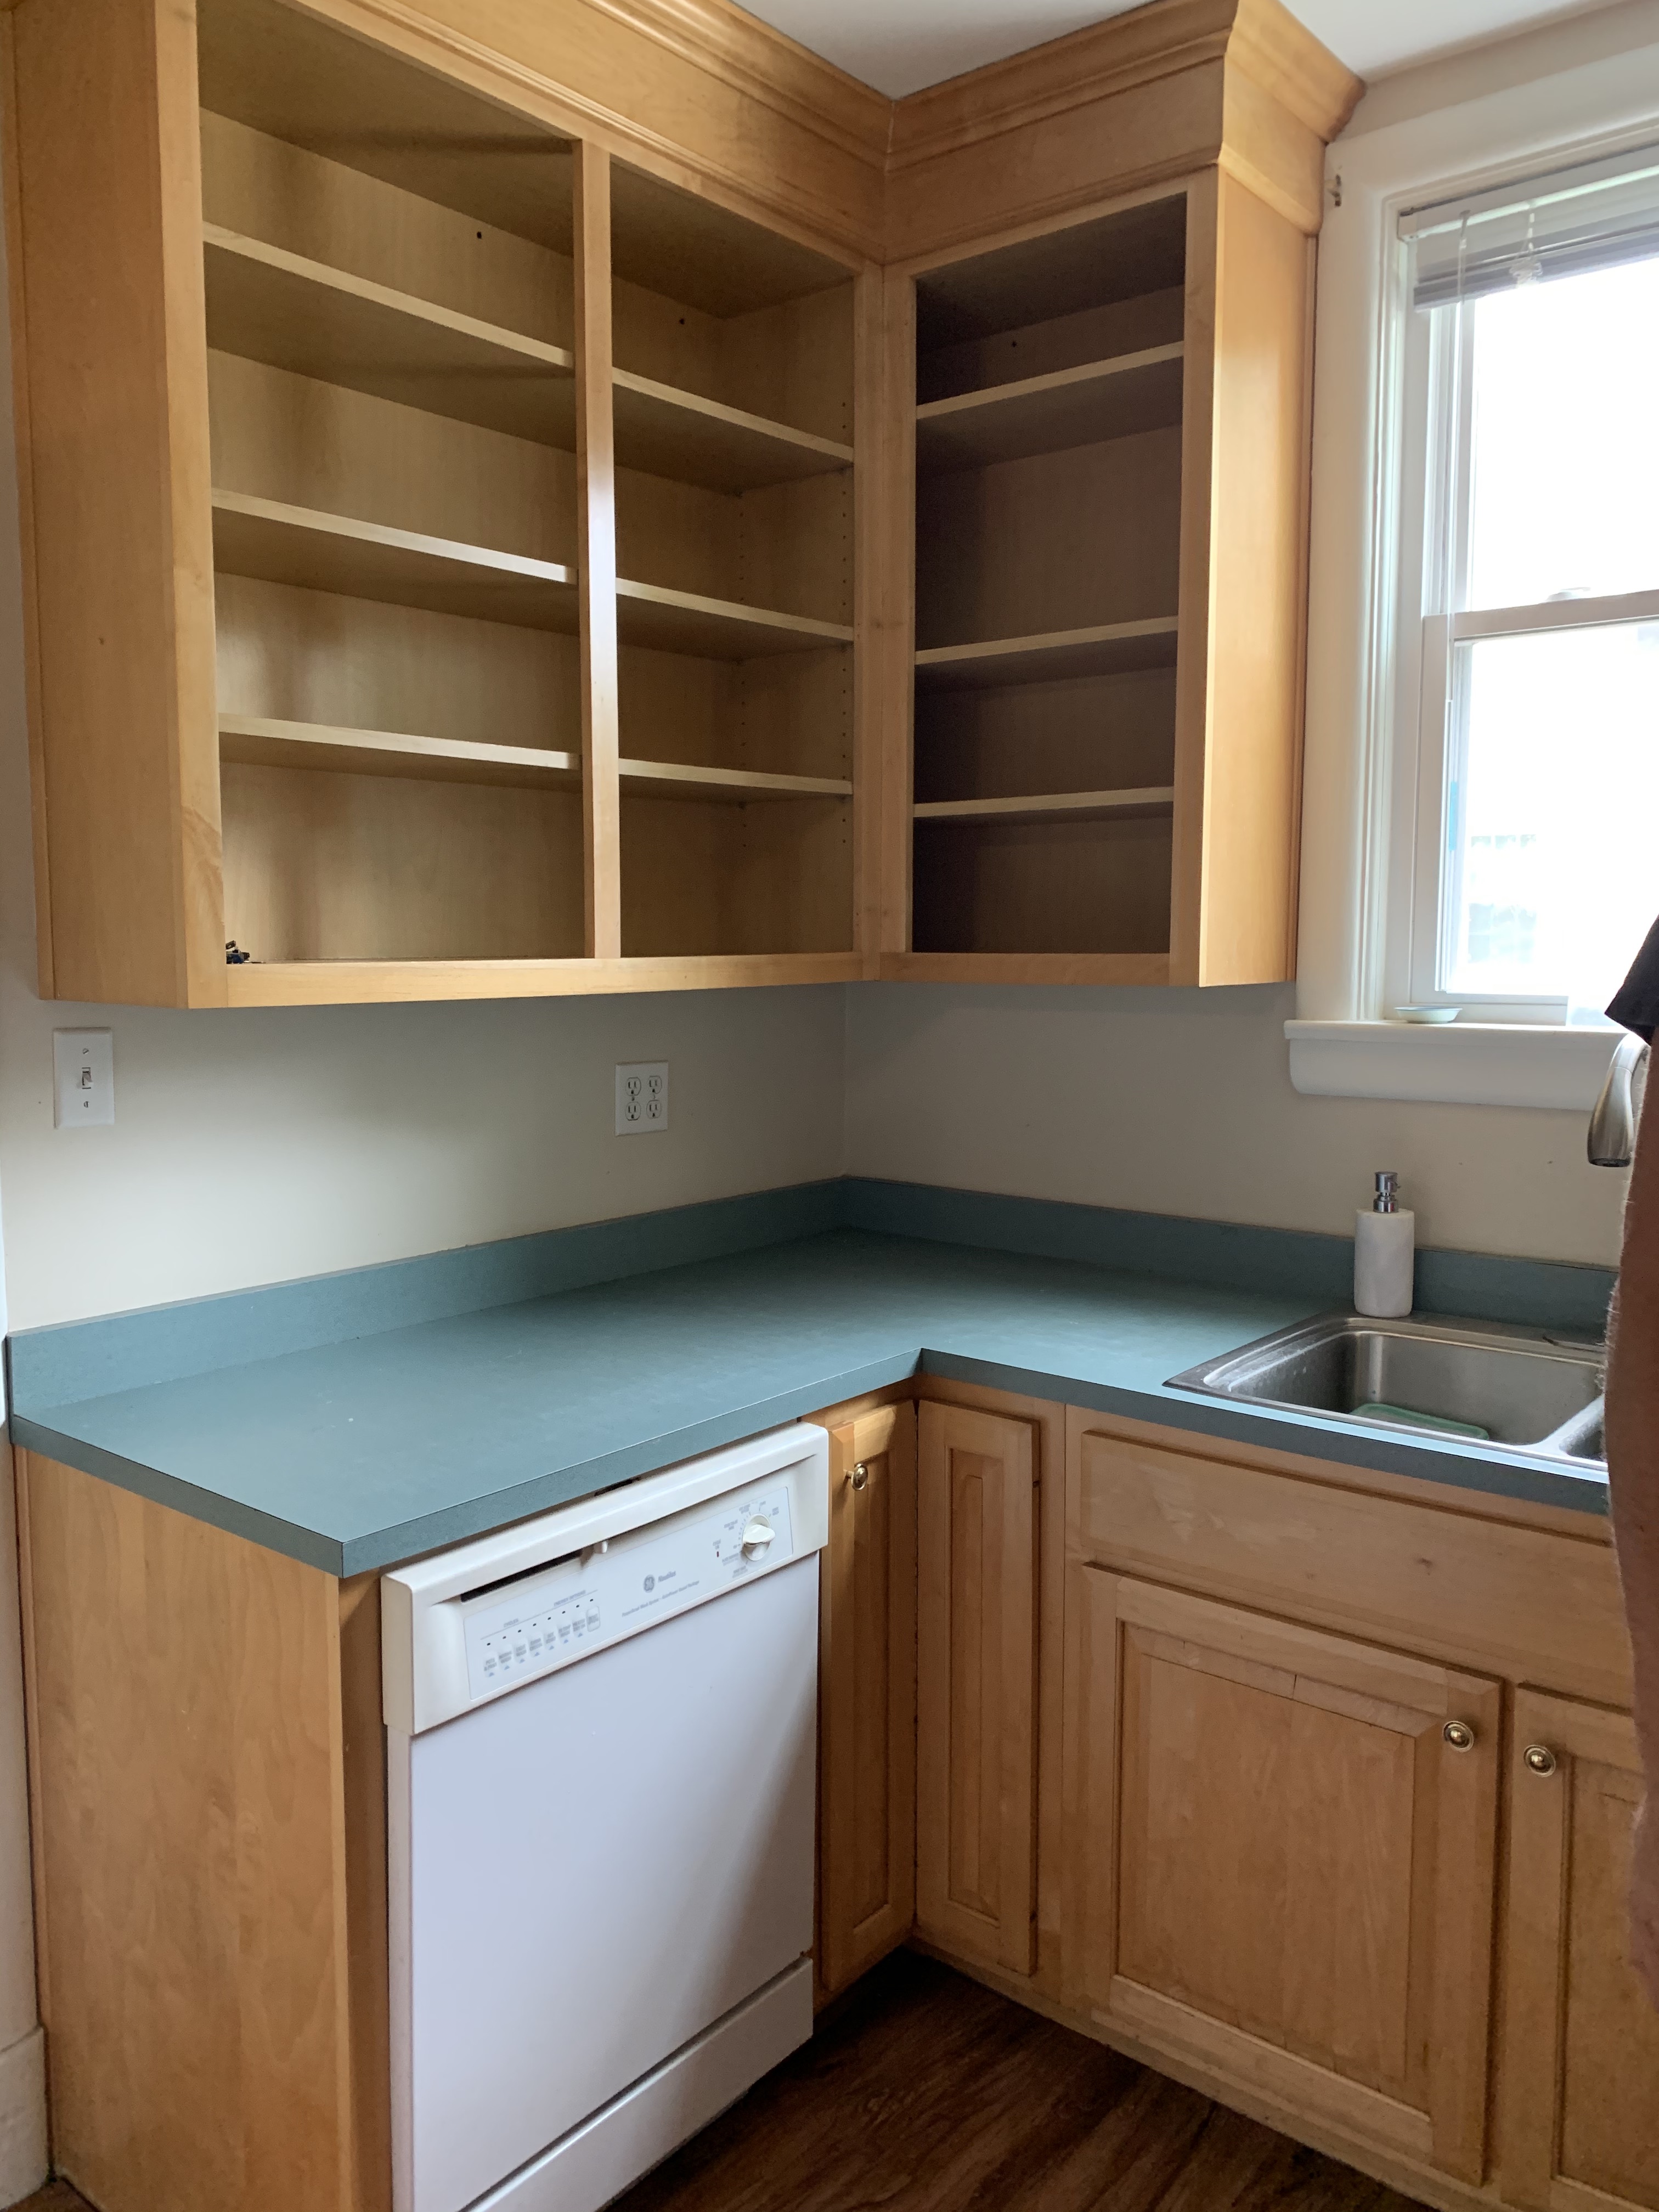
Demo was the first step. I removed the faucet, sink, and laminate countertops, and the latter two were both promptly discarded without remorse. With everything cleared up I measured the sections of countertop that I needed to cut and calculated the location of the sink. We bought unfinished birch countertops that came in 8 ft by 25 in by 2 in pieces. We ended up using two of those for the kitchen and had a little left over that we used for another project – more on that later.

The sink was one area of this particular project that required some serious planning. We ordered ours online, and chose a deep, no partition, stainless steel sink. WE LOVE IT. We have so much space now for washing pots and pans, bottle parts, giant high chair trays, etc., and it also looks beautiful. We decided to do an undermount installation with no reveal, meaning the sink blends in seamlessly with the countertop without having a lip around the edges. The sink came with a template to trace the sink in the countertop for the appropriate cut. It required extra care because once I made the cut there was no going back – any error and I would have had to buy a whole new piece to replace it! Luckily it worked out on the first try thanks to careful measuring and the appropriate woodworking tools.

One difficult decision was the color of the finish we wanted to use for the countertops. There is a myriad of options when it comes to stain colors and sealants. We ultimately decided not to stain them because we wanted to keep them fairly light in color to maximize light in the kitchen. To seal them I used two products: water based polyurethane and rubio monocoat pure. Both products are frequently used to finish hardwood floors, so they can stand the use and abuse over the years. Poly seals create a “plastic” film on top of the wood, which does take away the natural feel of the wood but provides a really strong barrier. I applied poly to the underside of the counter and around the inside rim of the sink cut off to fight moisture. I applied Rubio to the entire countertop surface. Rubio binds to the wood fibers sealing the surface, maintains the wood feel, and makes the wood grain pop with only minimal color change – just a golden hue. It is easy to apply, and best of all, it is nontoxic.
I cut the leftover pieces from the countertops into squares and finished them with poly. These pieces are sit on top of our countertops and we use them to protect the counters. Hot pans can go directly on these pieces, or we can place hand washed items that need to air dry on top of them instead of directly on the countertops. We know the counters are sturdy, but these pieces will help us extend their life.
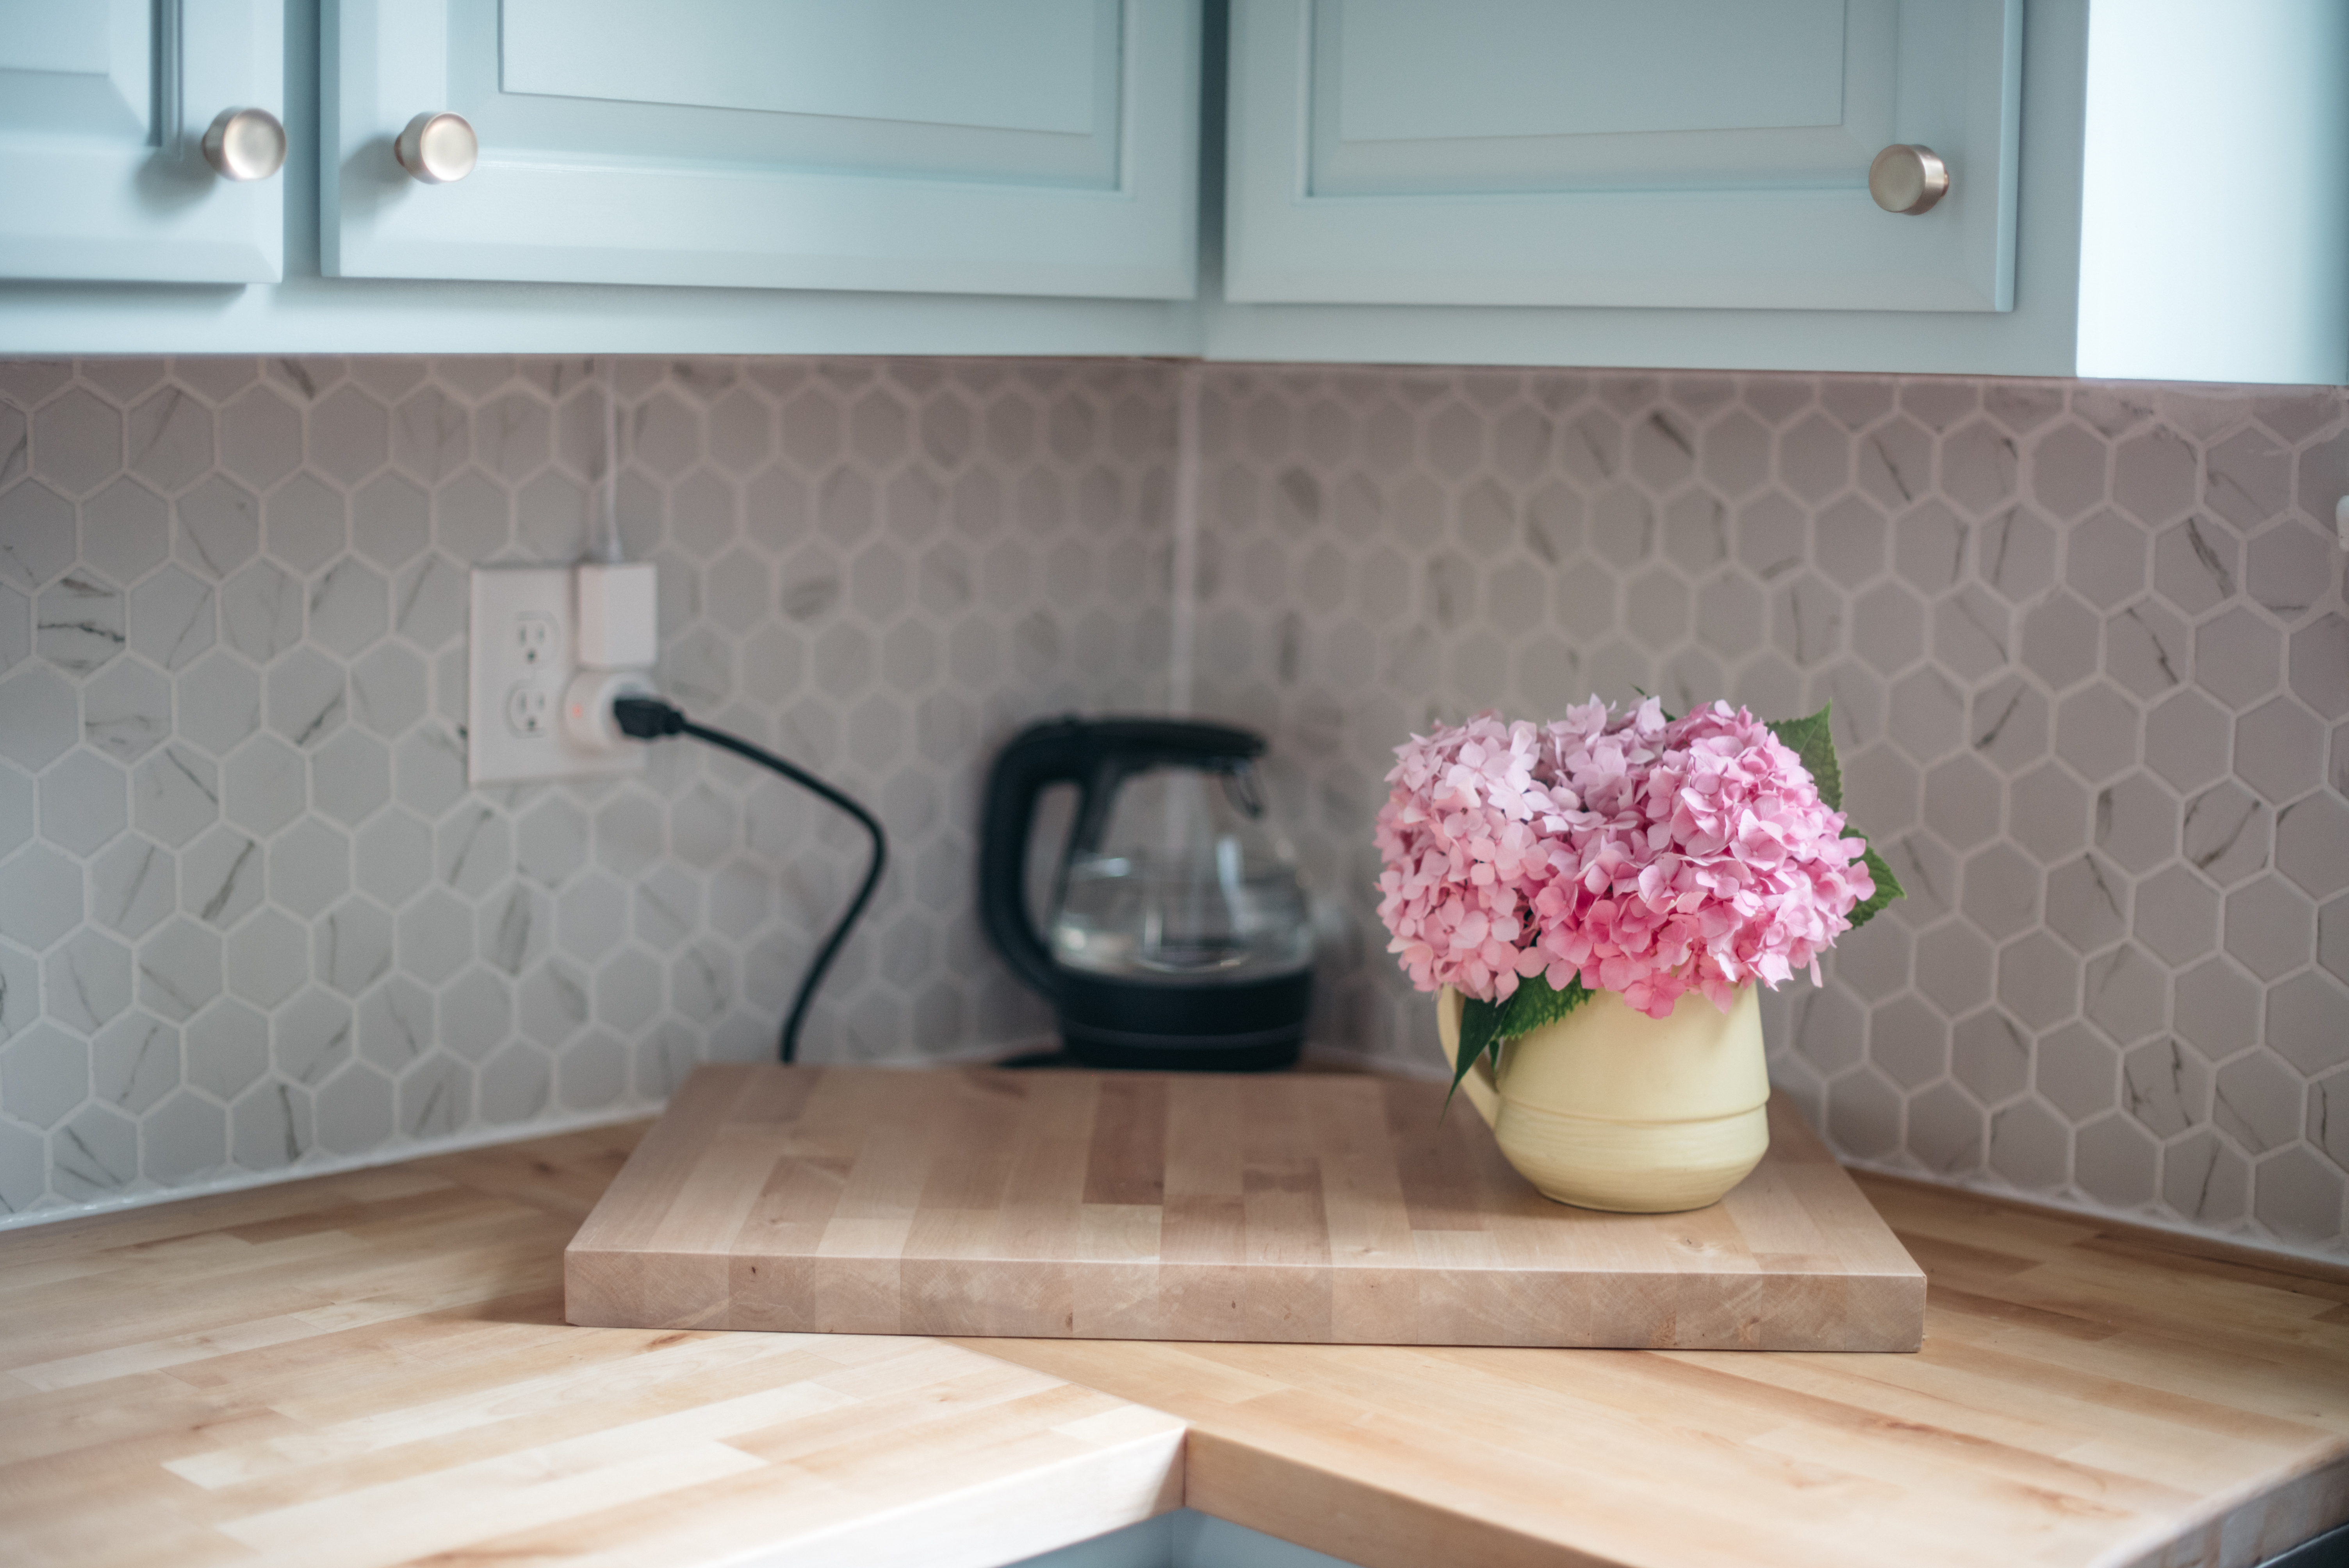
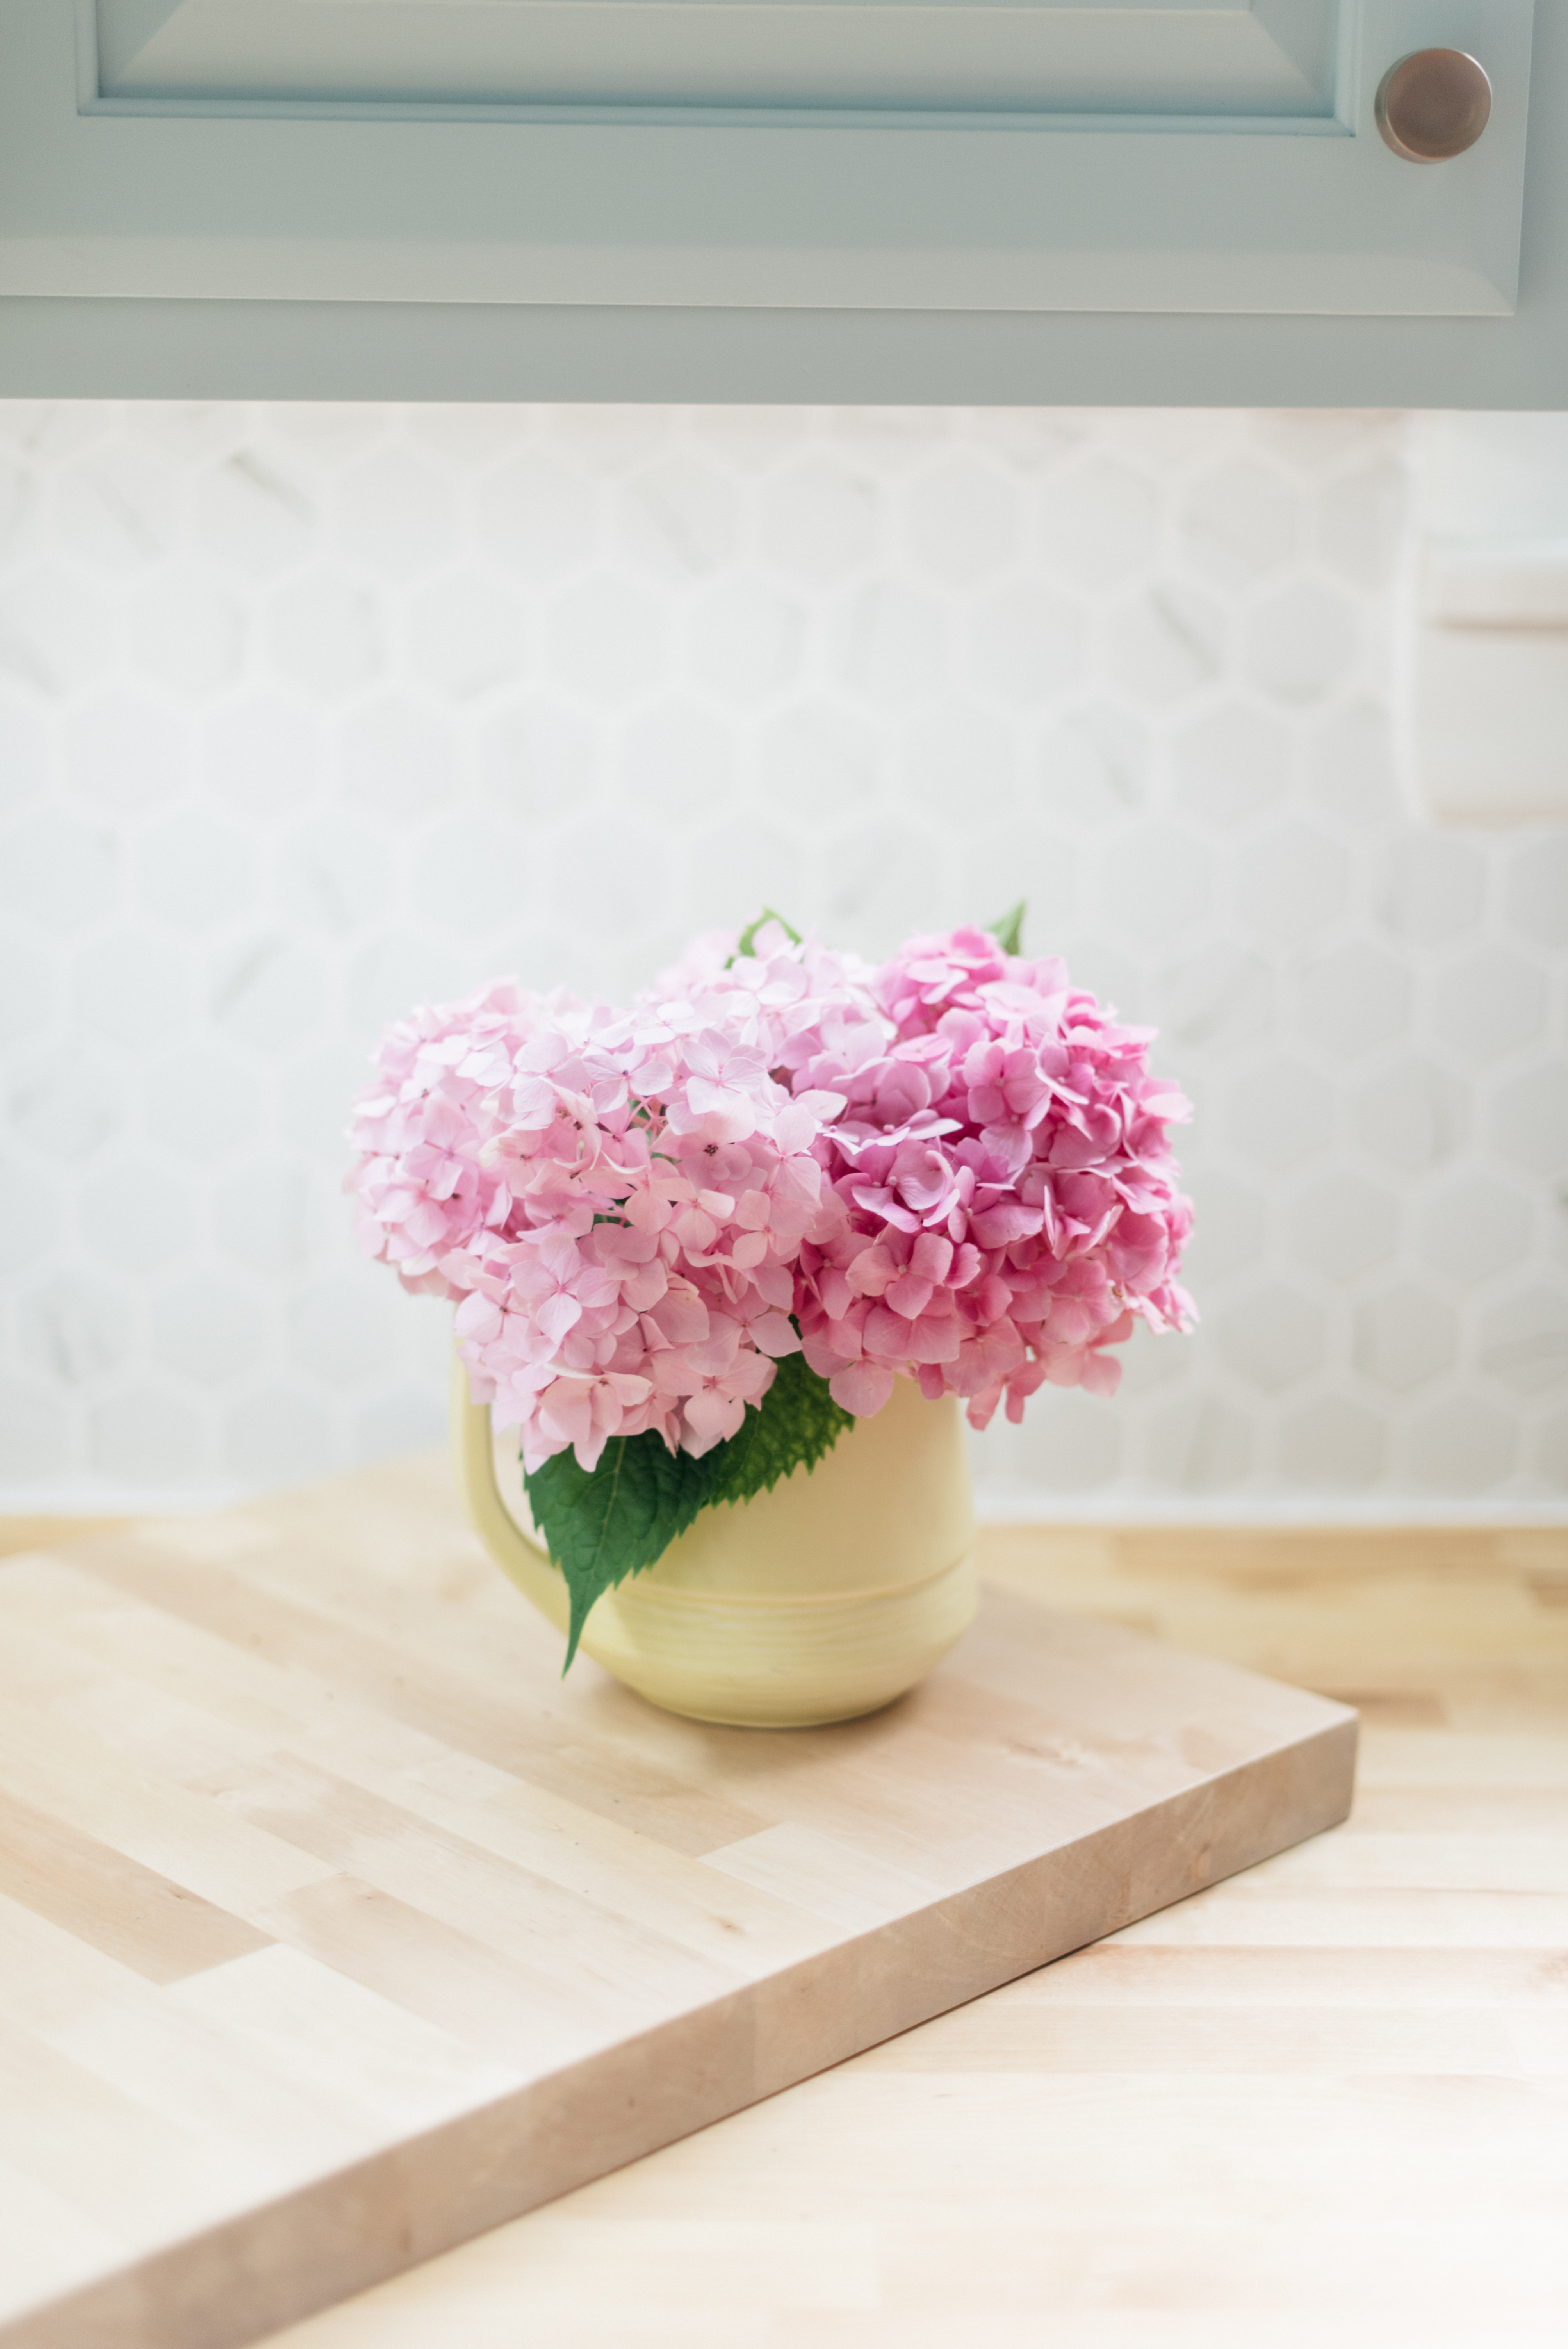
All said and done, we LOVE these countertops. The warm look and organic feel of the wood is unbeatable. It’s only been a month, so we cannot comment on the durability – but so many people have butcher block islands these days and we know they are designed to withstand family use. We’ll report back someday…for now, we’re enjoying the view!


3 responses to “Our new butcher block countertops”
VERY nice. Good job. xo L
Very informative post for Block Countertops. I really do hope and pray this stuff works! Kitchen Countertops
What paint color did you use?!