One of my objectives when I changed the floors of the second story of the house was to save as many of the old pine floor planks as possible with the idea that I could use the wood for other projects. The wood is old and dry, and although it’s not hardwood, I believe it has value and can be used again. The bulk of that wood is currently stored in the basement.
With so much material ready to be used, I needed to figure out what to do with it. As Leslie mentioned in this post, there’s a spot in our kitchen that feels like lost space, and we have been wanting to make it useful for awhile. In our minds, our dream home wouldn’t waste any space, and we are taking steps to make this house as close to the dream as possible. The final decision was to build a kitchen nook with a storage bench, a table (mounted to the wall to save space), and a couple of stools that could be stored underneath the table to maximize space when not in use.
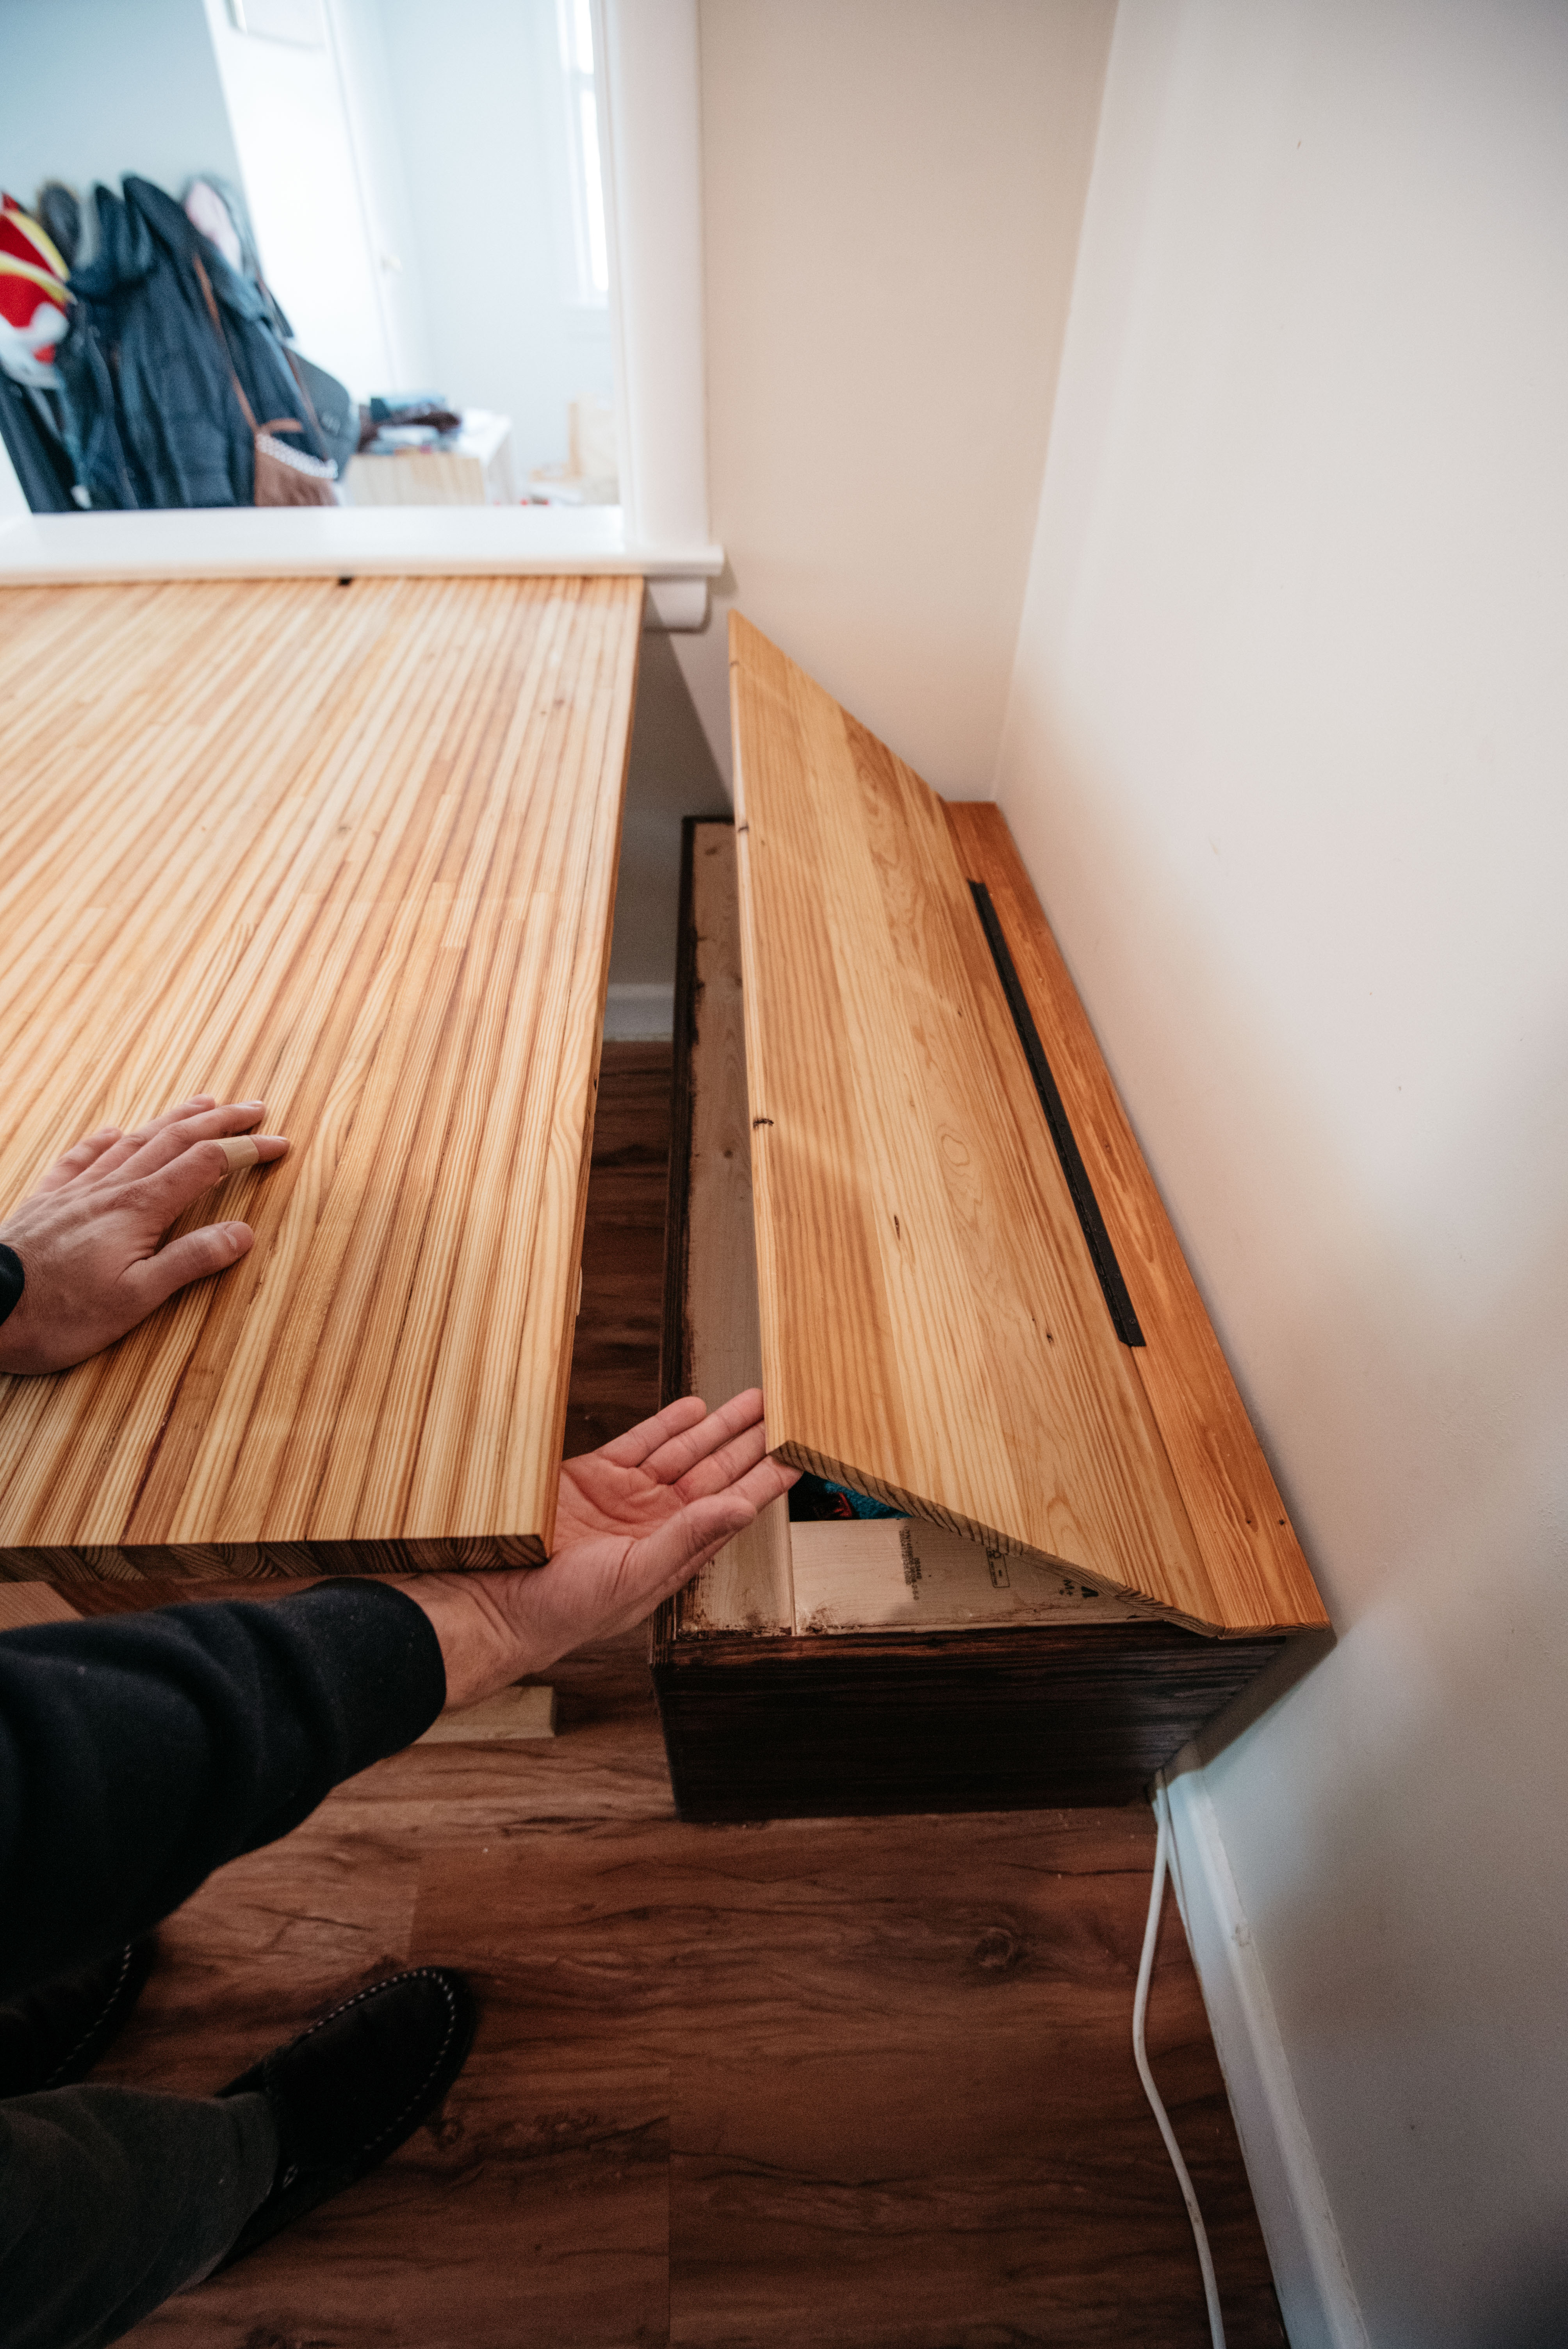
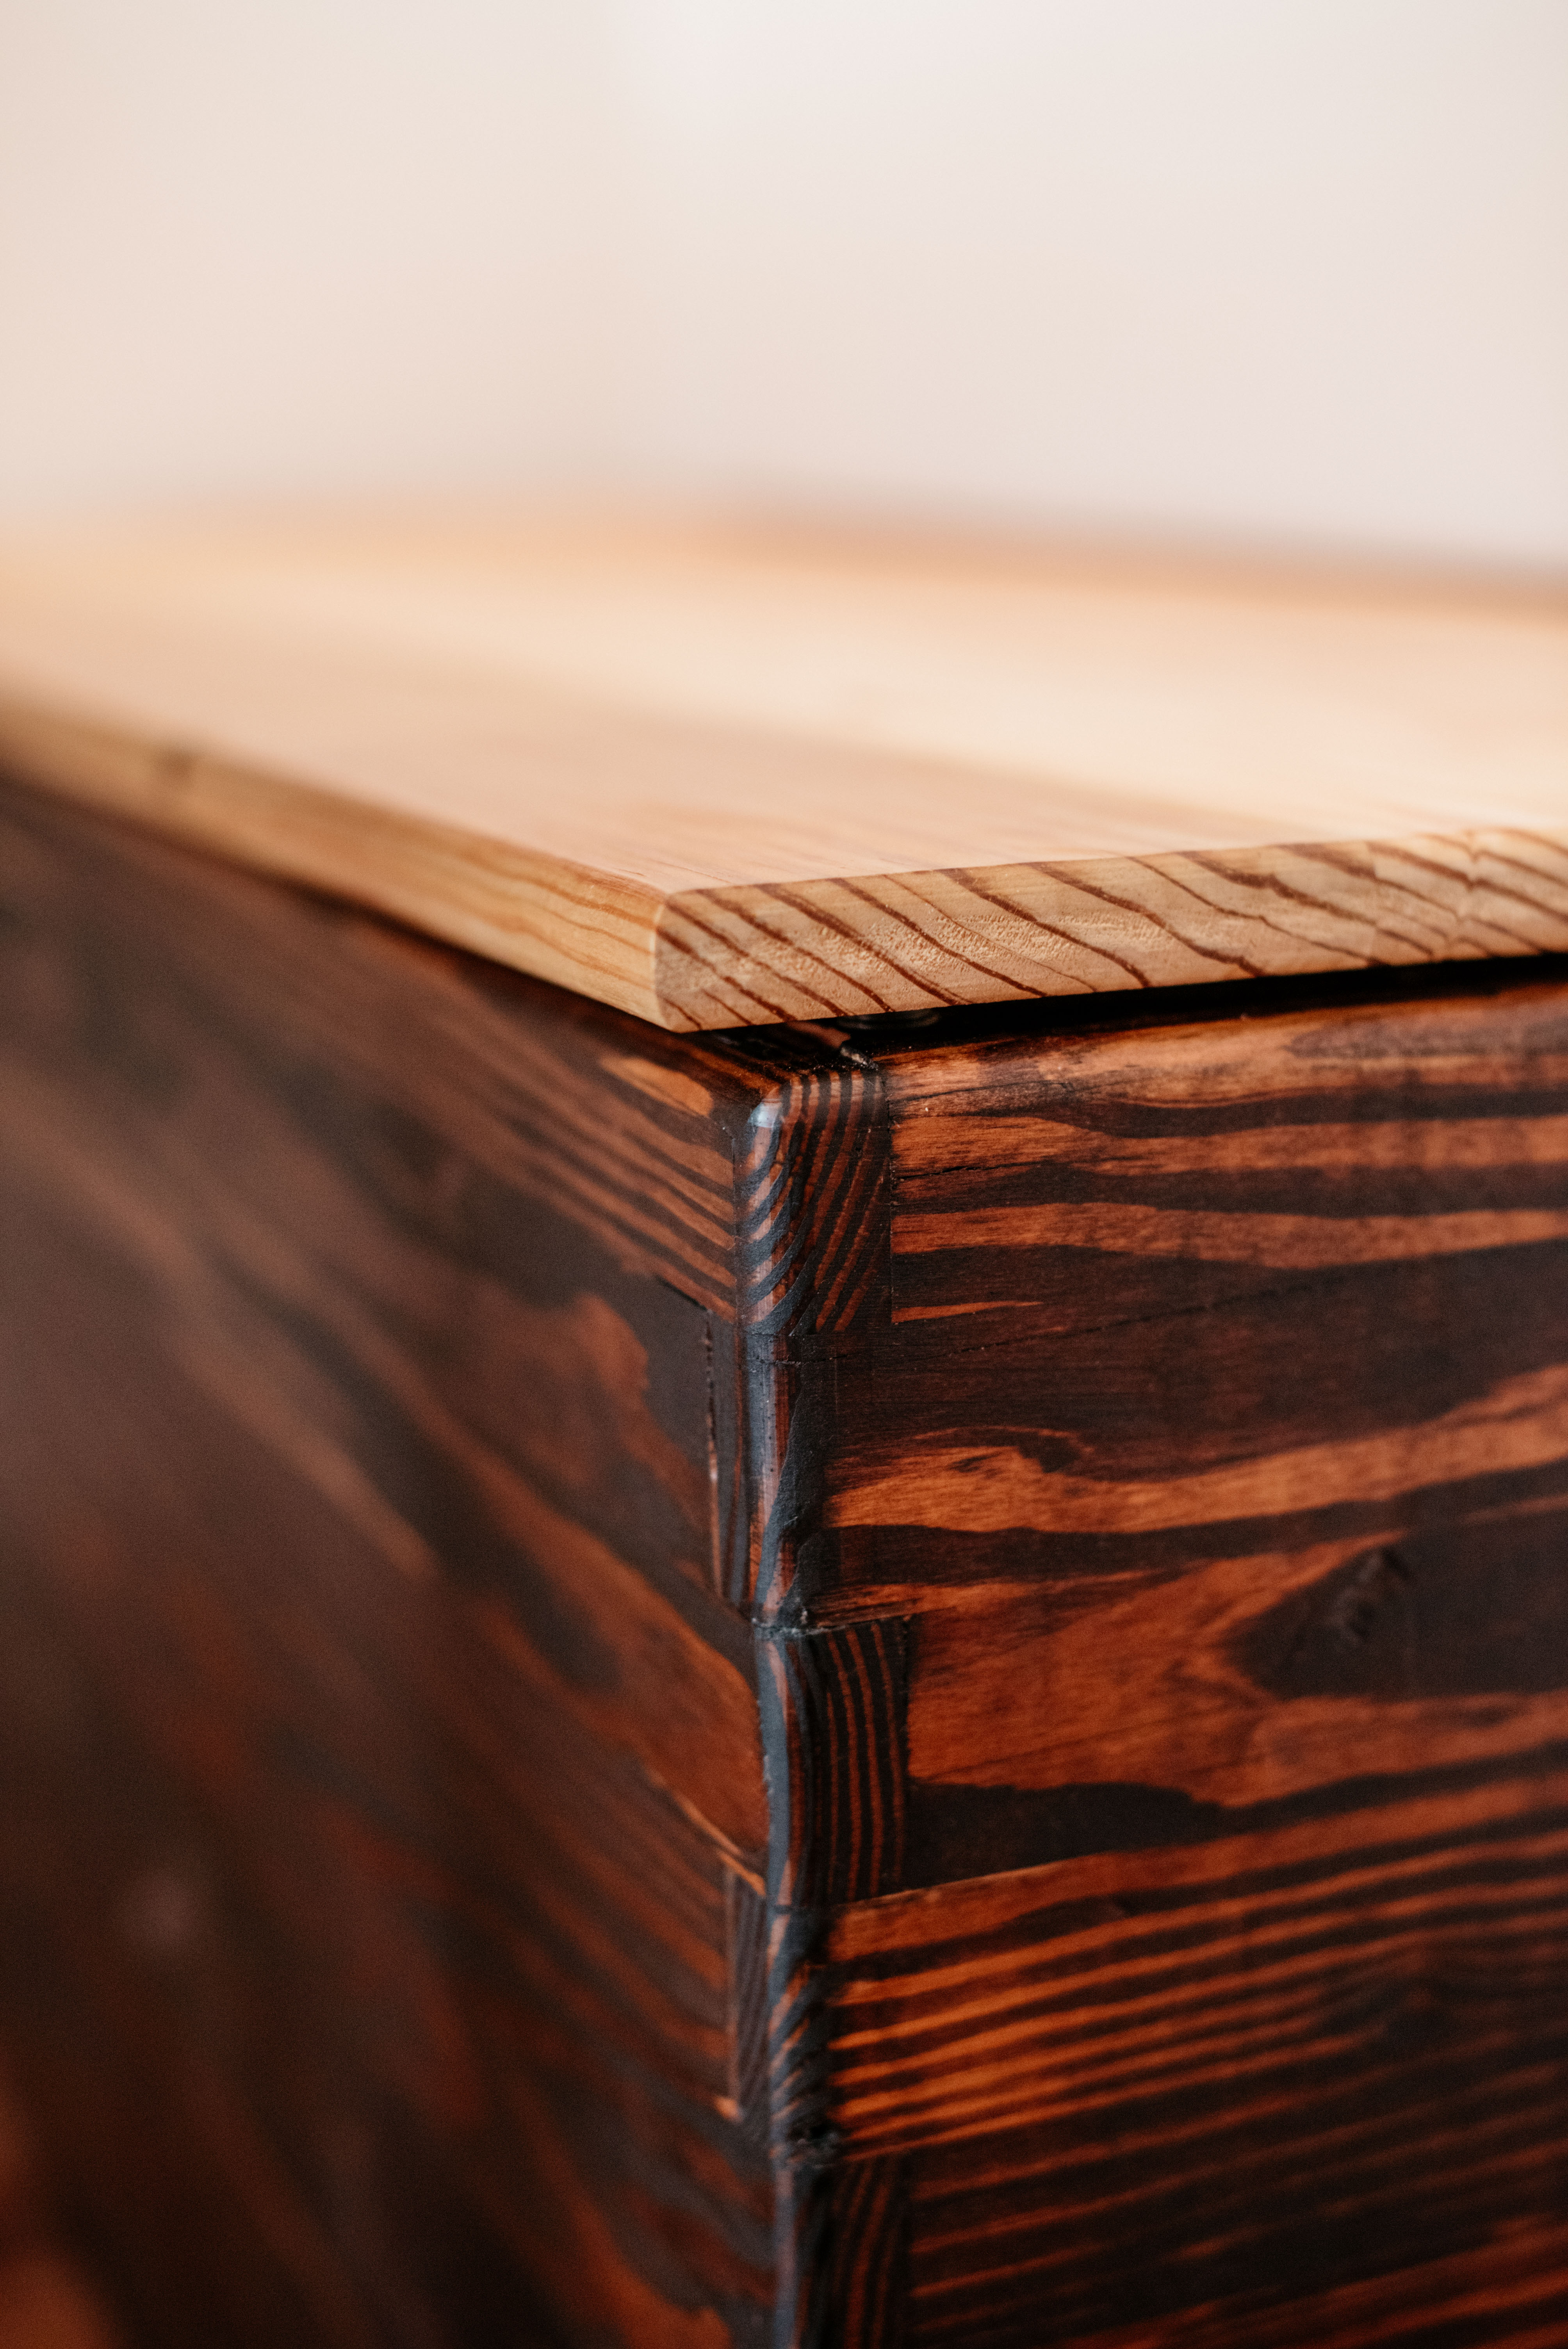
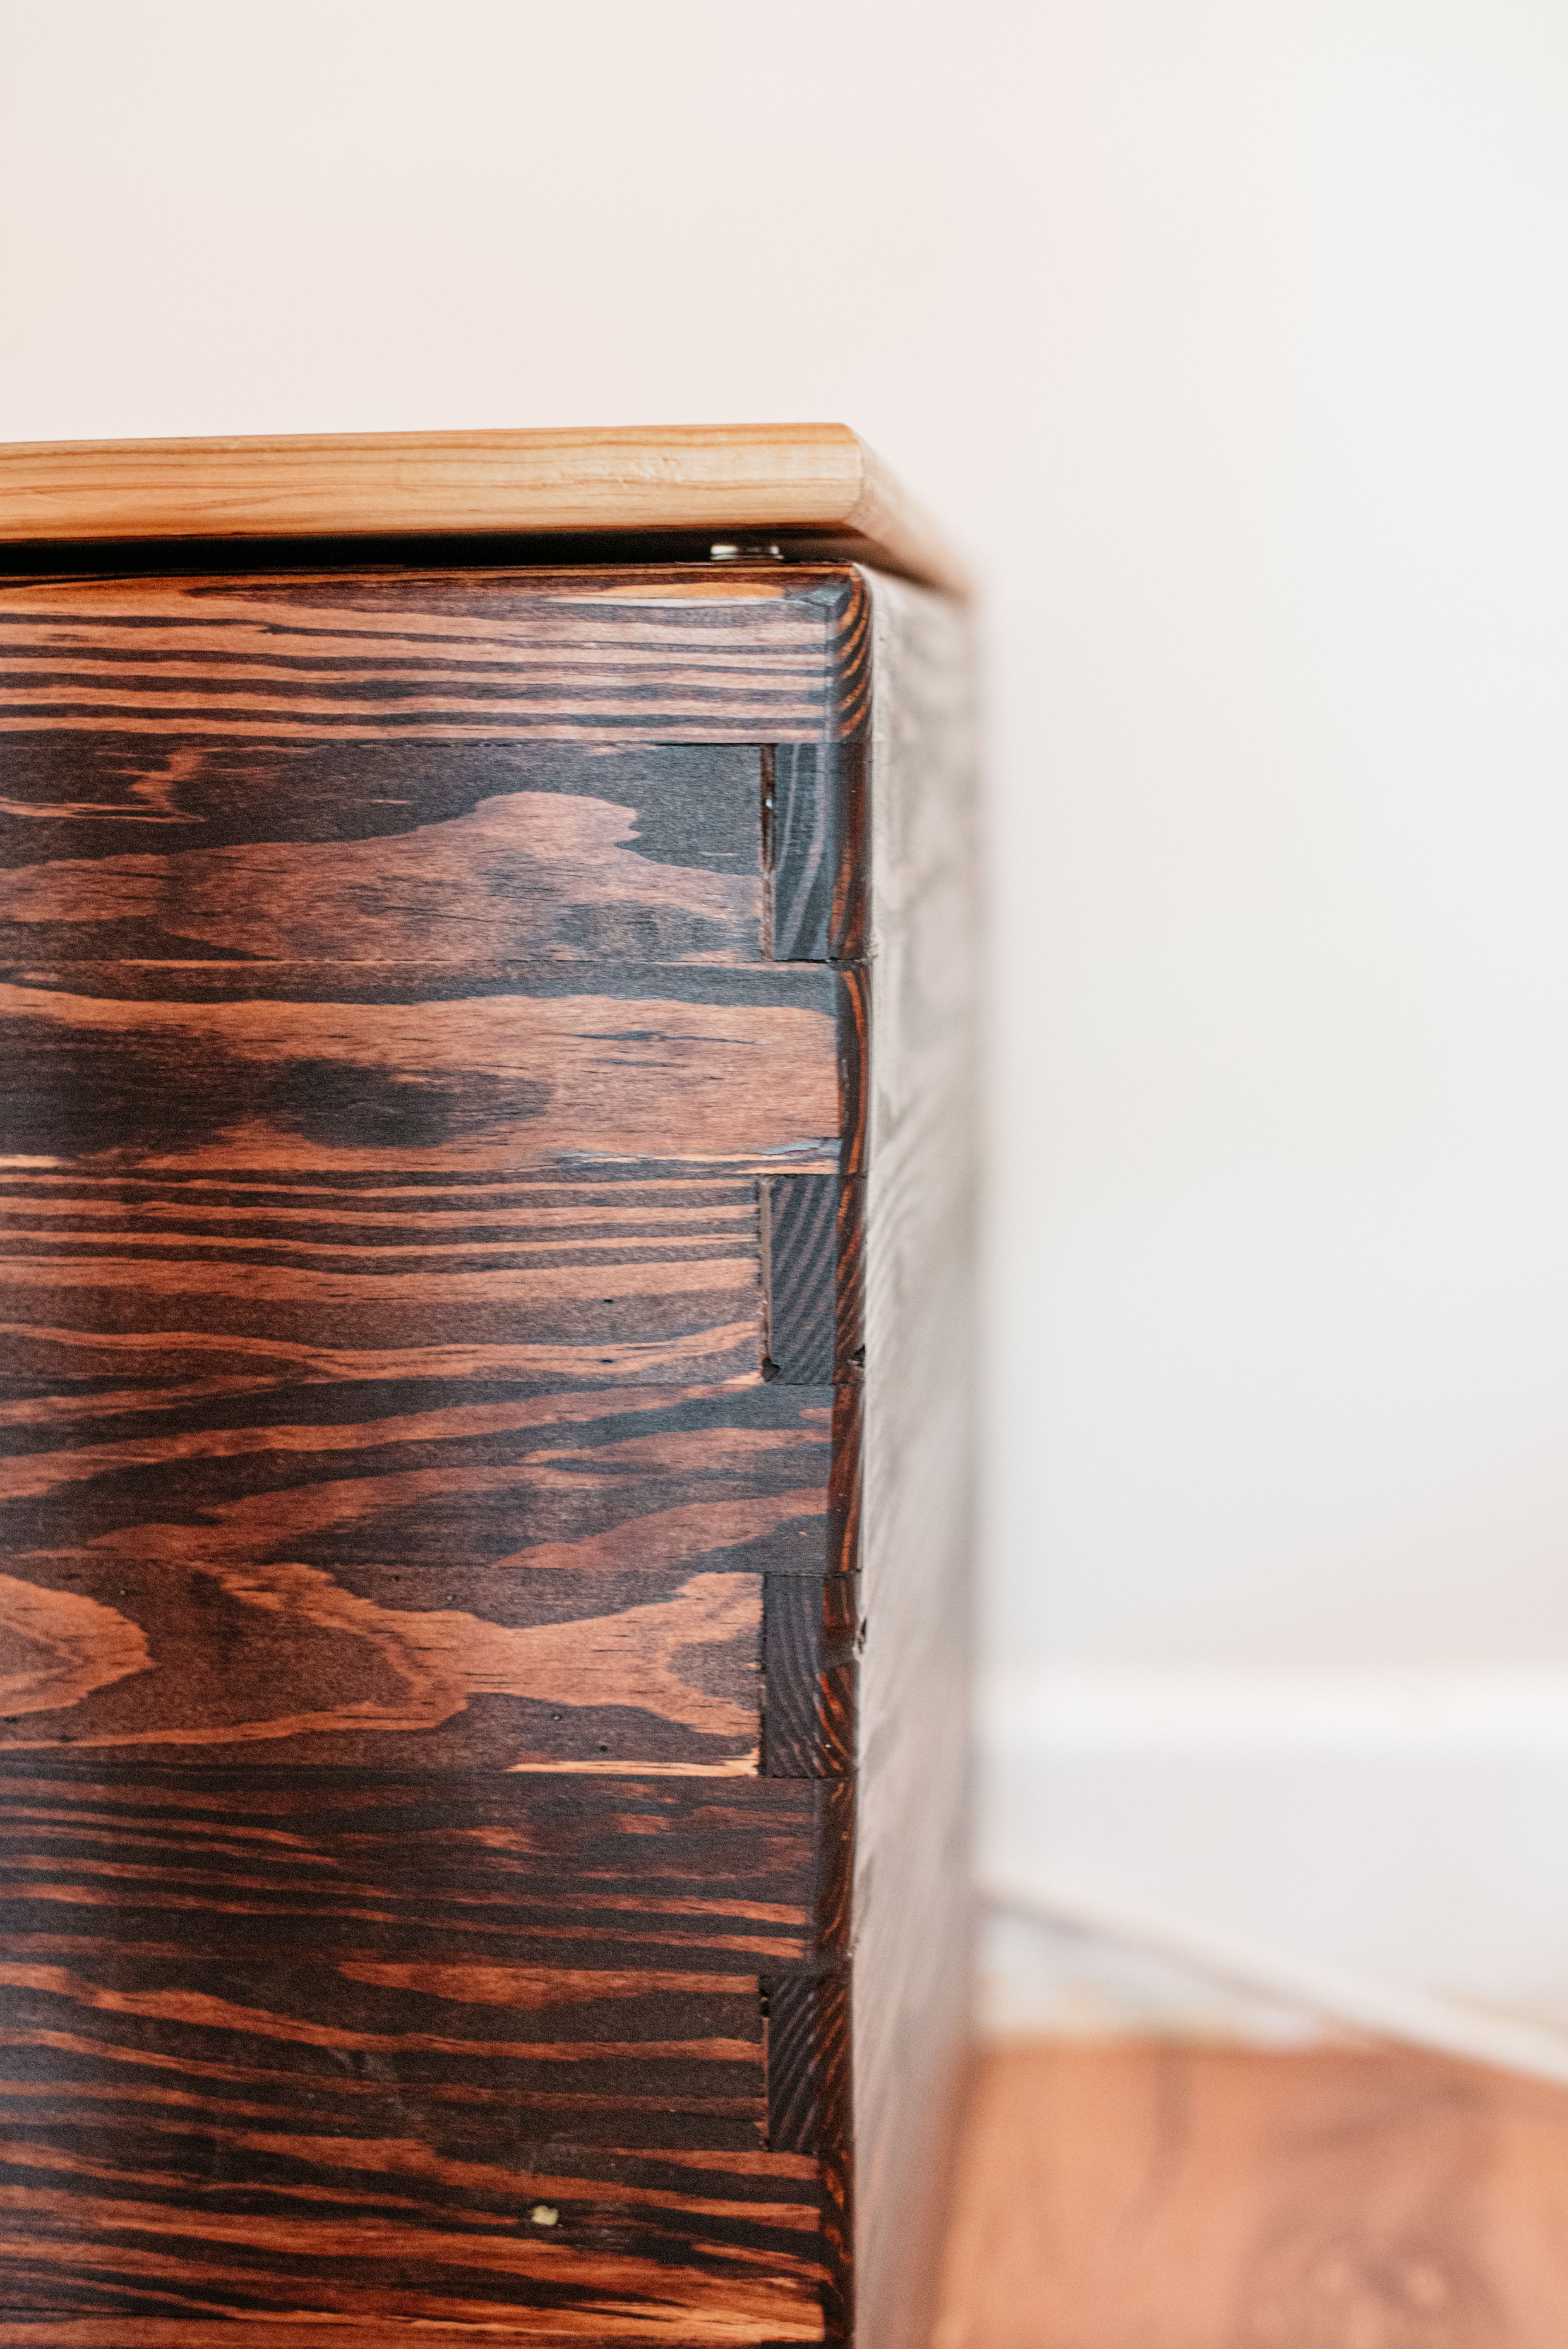
The bench is a simple box with a top that opens up using a piano hinge. The box’s body was made of 2 x 4s joined with pocket holes using my Kreg jig . The great thing about this jig is that the joints are strong and quick to make for a sturdy base. The pocket holes can be filled with ready to use plugs , though in this particular situation I didn’t do anything since they are hidden inside the bench. For the outside of the box I used the pine planks. I ripped the planks to 1 ½ in. pieces and glued them to each other and the box’s body without using any nails or screws. To create a decorative effect, the corners are interlocked with a pattern known as box joint, finger joint, or comb joint. Using the router, I rounded the edges with a rounding bit to prevent easy breakage from daily use/abuse; the sharper a corner is in any project, the weaker and more prone to breaking it will be. Once assembled, the box was sanded using a belt sander first and then an orbital sander for a smooth feel. I decided to stain the bench dark to create some contrast. I used a Minwax stain and once dried and cured I applied a coat of Odie’s Oil. The top of the bench was made of 5 planks glued together, sanded, and finished. I did not stain it. I ripped the seat on the table saw to allow installation and proper function of the piano hinge. The last detail will be to make a cushion for the bench for more comfortable seating, but not having the cushion does not stop us from being able to use the bench right away.
In a future post, I’ll describe the construction of the table itself!
If you have any questions about the materials or tools I use, please leave a comment. I will give you my honest opinion. I have created affiliate links to some of the products I use in case you are interested in checking them out. I only recommend product I use and I am happy with their performance. If you make a purchase using these links ,we receive a percentage that helps us continue improving the blog.


2 responses to “DIY Reclaimed lumber Kitchen Nook – Part #1 / Bench with storage”
[…] he removed from the second floor of the house last summer. This is the same wood he used to build the table, bench, and chairs next to the coffee bar, so it flows perfectly with the rest of the room! Have I […]
I always find decent wood on the curb that I recycle in different projects I work on.